Introduction to Markdown and README files
Using Markdown in GitHub - Tutorial
GitHub Skills are systematically being updated to an issue-based workflow from the legacy README-based workflow. If you began this exercise before 5-30-2025, your skills repository will look different from the current skills repository template. The following tutorial follows the legacy README-based workflow.
GitHub Skills: Communicate using markdown
We’ll be using the Communicate Using Markdown Skills Tutorial to get some practice with markdown in GitHub. Follow along with the tutorial using your own GitHub account.
Step 1: Copy the exercise
Open the GitHub Skills link, and make sure you are logged into GitHub. Use the “Start Course” button to make a new repository on your account:
 When you open up the “Copy Exercise” link, you will be presented with the “Create a new repository” interface. Keep all of the defaults, and click the green “Create repository” button:

These actions use “minutes”, which are limited in a private repository, but unlimited in a public one. We suggest keeping your GitHub Skills tutorial repositories public to avoid any minutes limitations.
GitHub Actions can take a little bit of time to run, so waiting this requisite time is important! Refresh the instructions after 20 seconds to make sure everything updates properly.
Step 2: Start the exercise
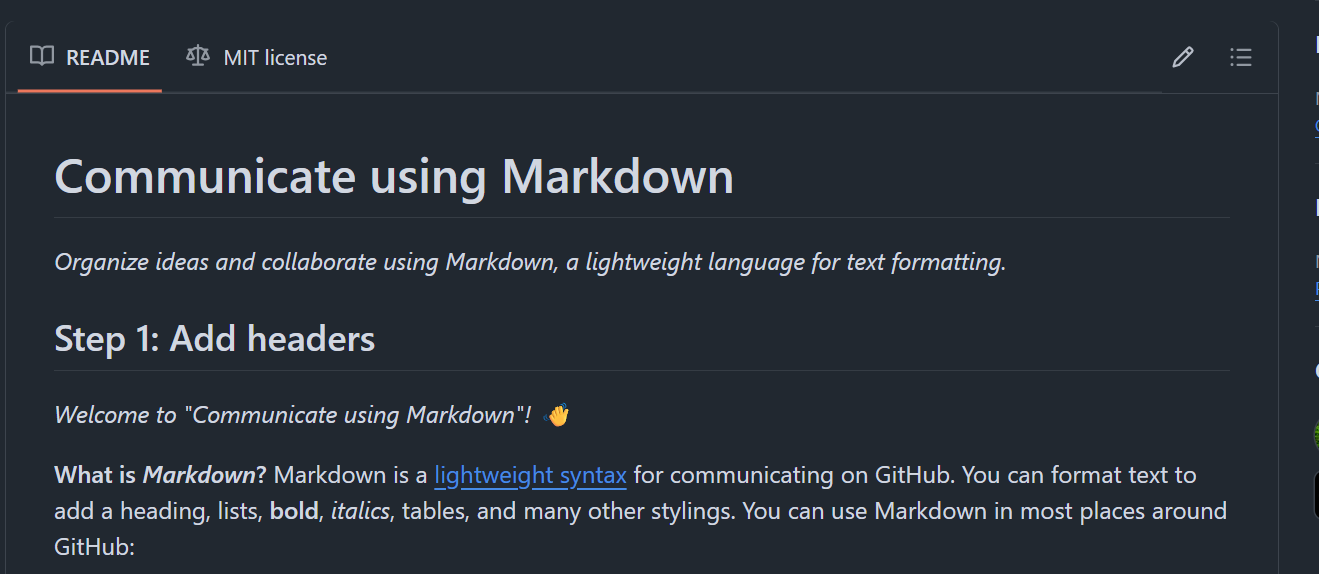
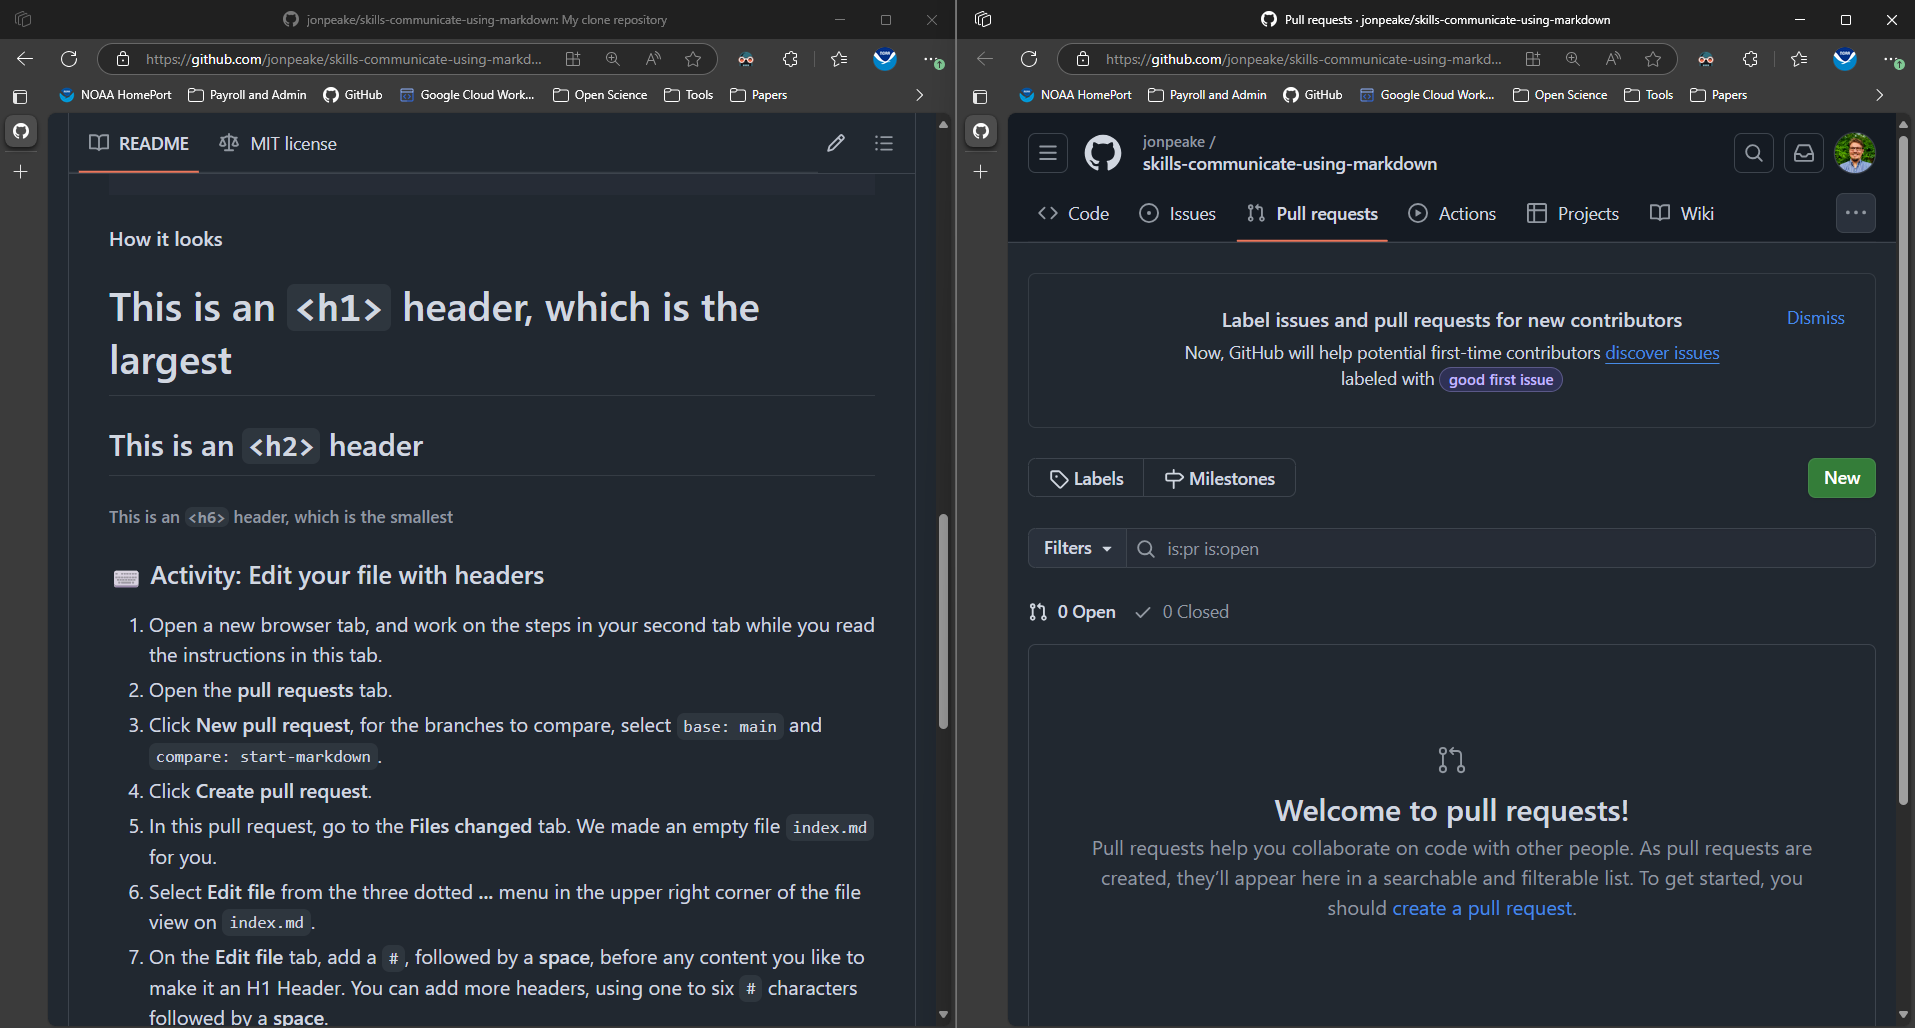
After waiting the suggested 20 seconds, refresh the instructions page. You’ll notice that the README output has changed to show the steps for the tutorial:
Step 3: Follow the exercise
Open a pull request
Create a new pull request following the instructions in the tutorial: 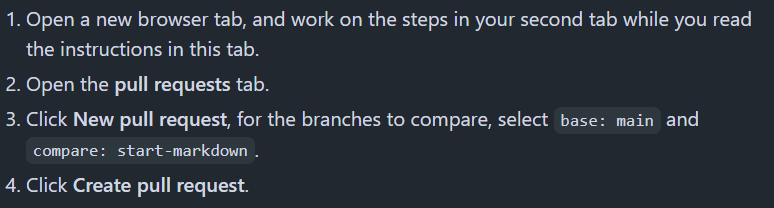
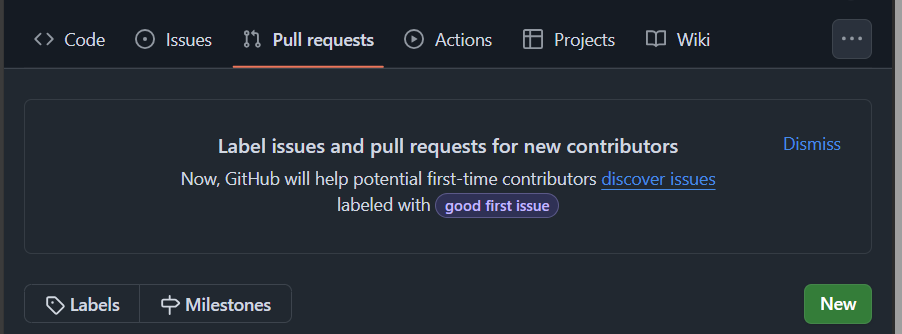
Open a new window and navigate to the Pull Requests tab in GitHub, then click the green New button to open a new Pull Request:
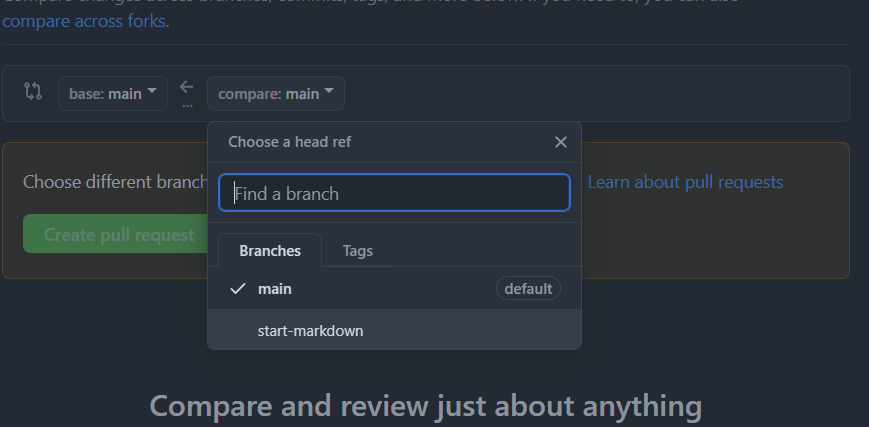
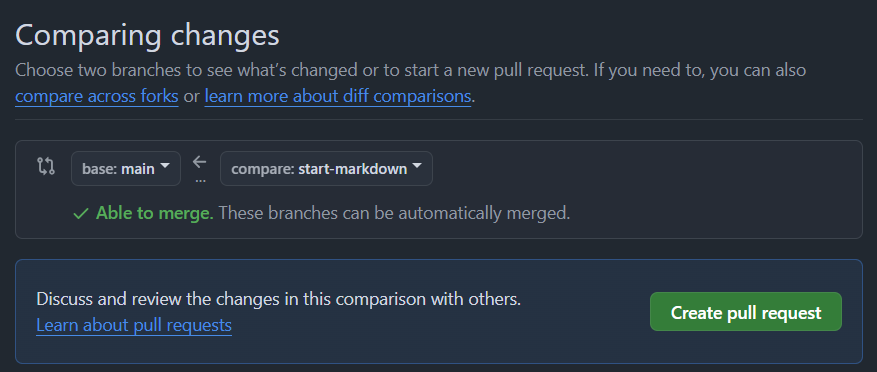
Click the “compare” dropdown and select “start-markdown”
Make sure the green “Able to merge” message shows, and click “Create pull request”, then “Create pull request” again.
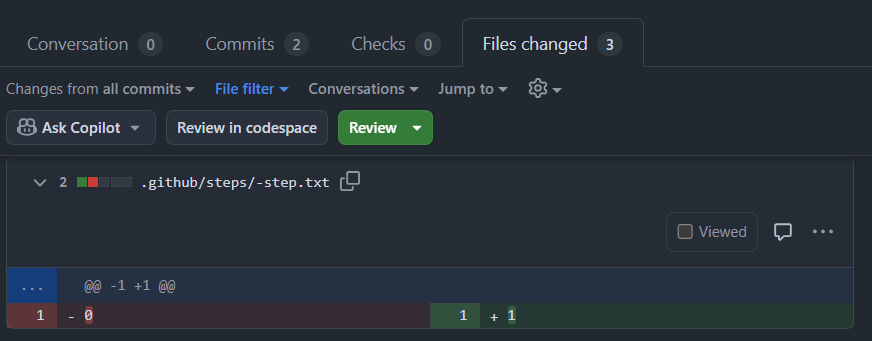
Navigate to the “Files changed” tab after the pull request has been created
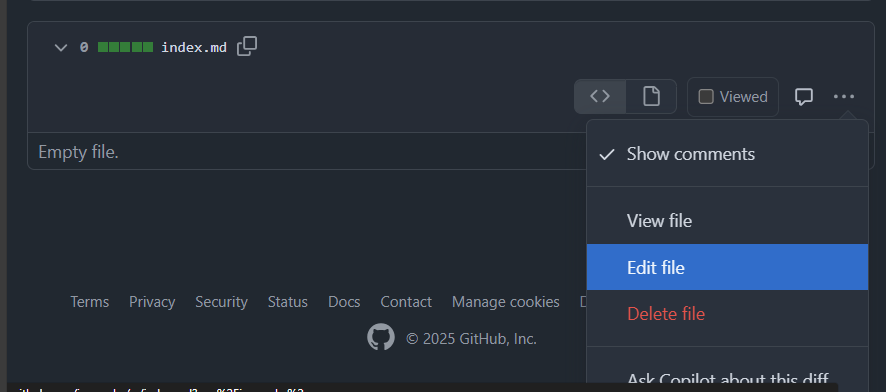
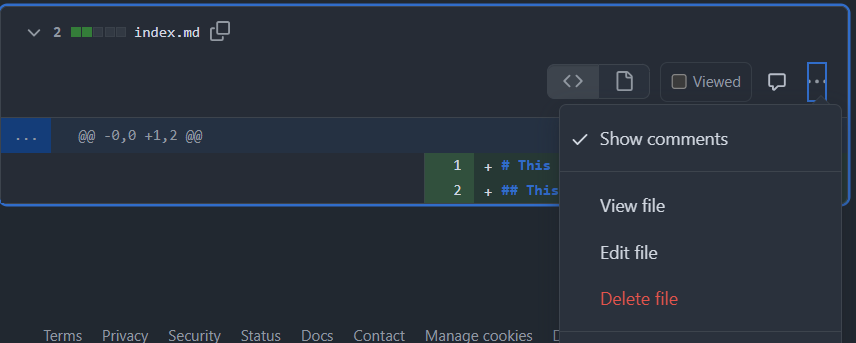
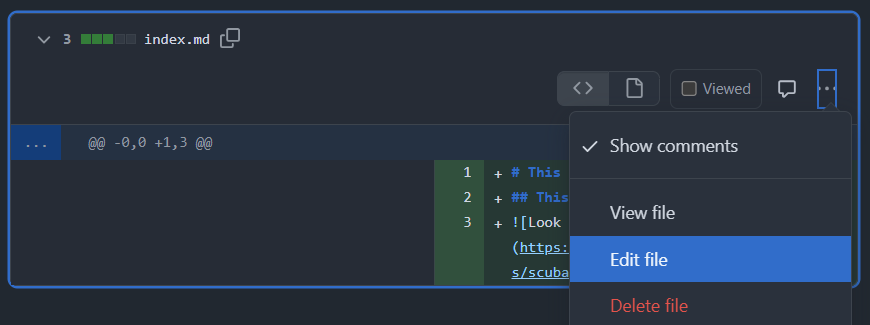
Scroll to the bottom of the page to the index.md file, click the three dots, and select “Edit file”
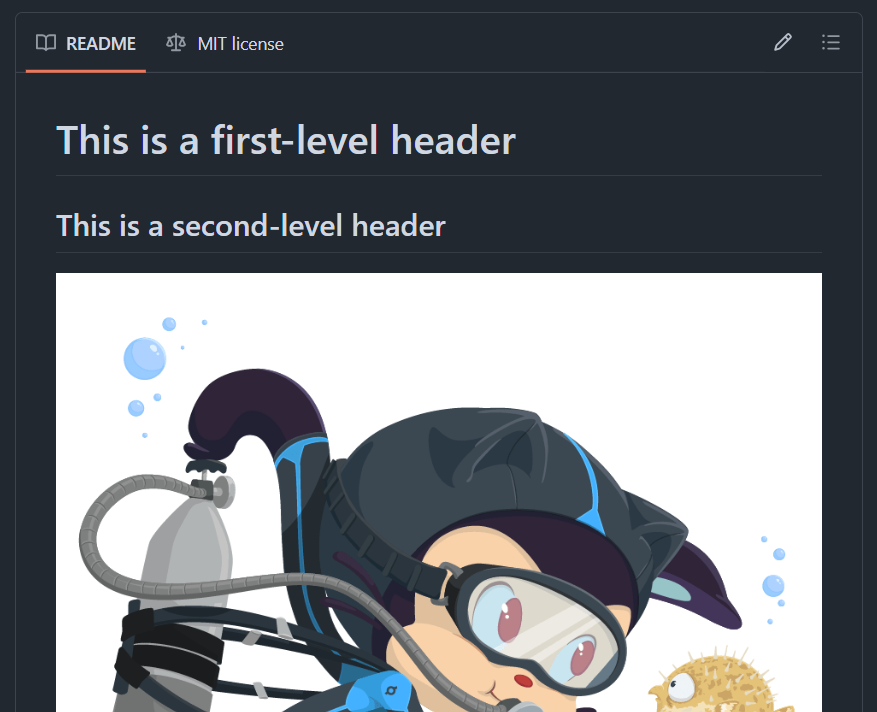
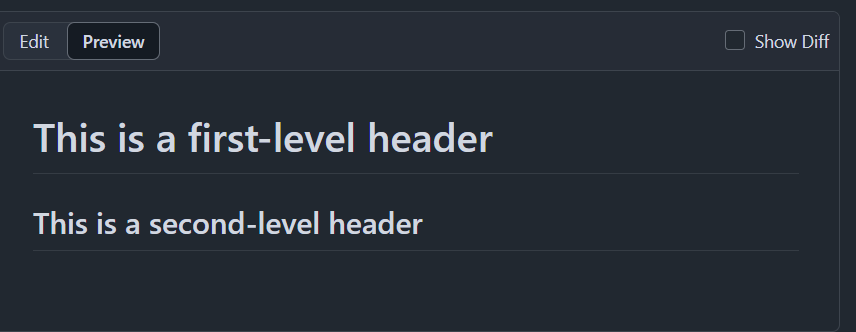
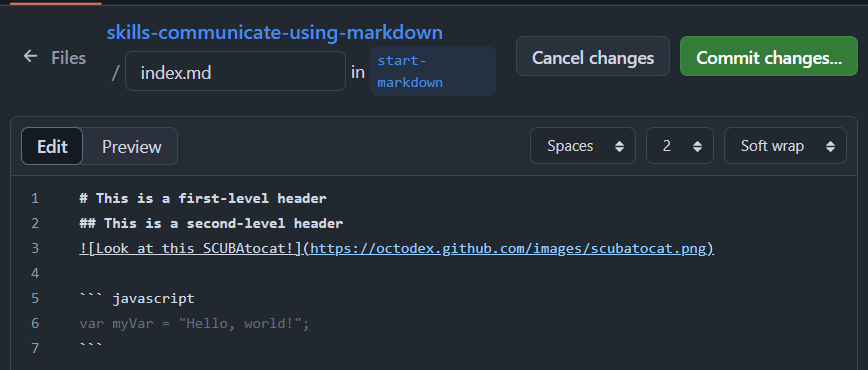
Add a first-level header by entering # followed by a space in the Edit textbox. You can play around with adding other levels of headers.

Click the “Preview” button above the dialogue box to see what your headers will look like in your file.
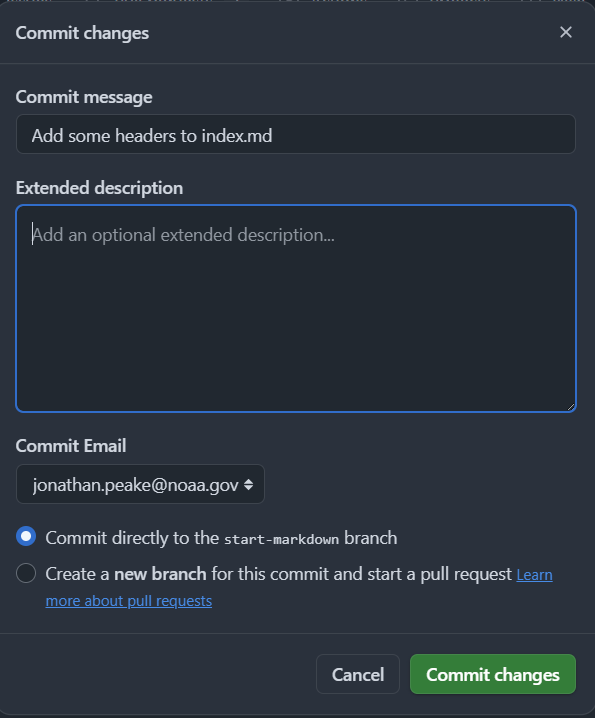
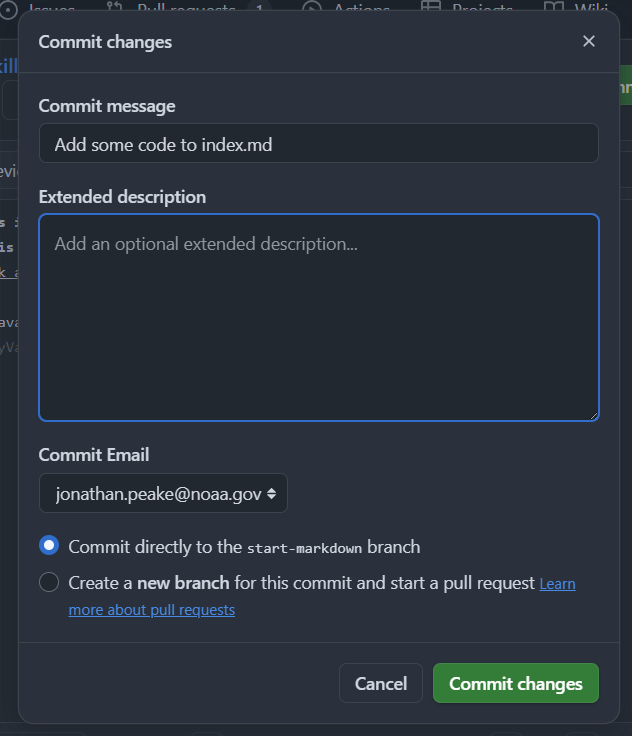
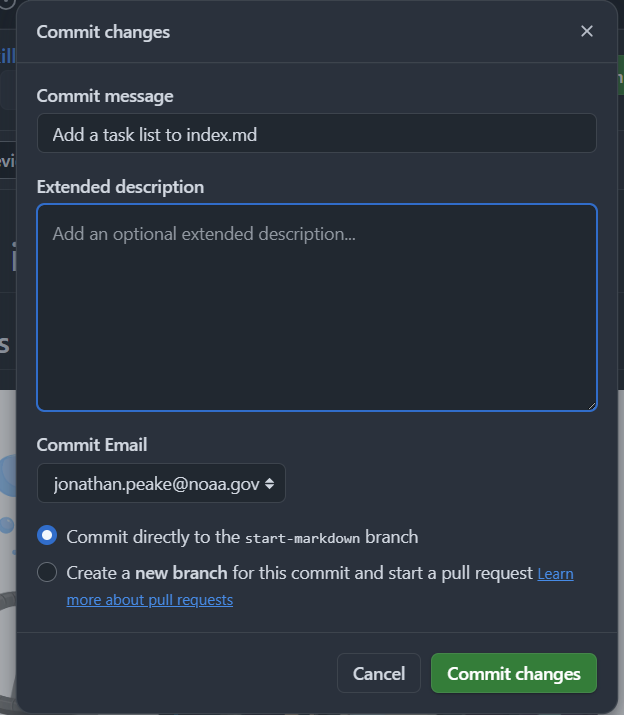
Click the “Commit changes” button at the top of your file (note that this is different from the instructions from GitHub Skills). Add a meaningful message, and click the Commit changes button.
Add an image
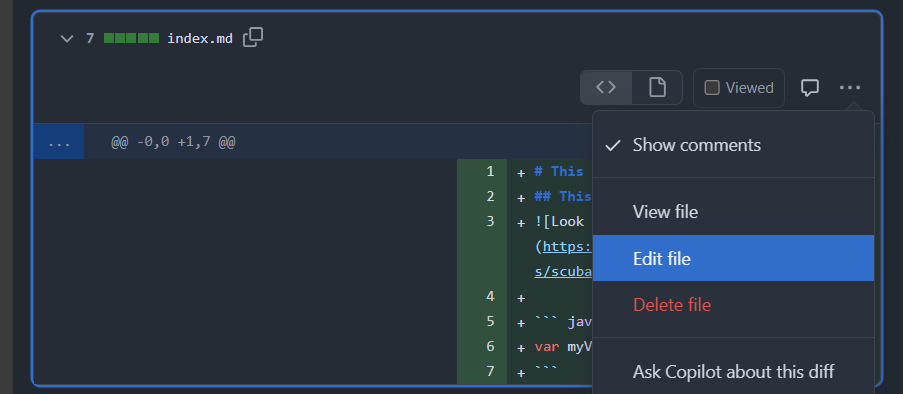
When you committed the changes, GitHub should have taken you back to the bottom of the “Files changed” page. If not, navigate to this pane and scroll to the bottom, click the three dots, and click the “Edit file” option again.
In the file, add a markdown image. For this example, we can use our SCUBAtocat.
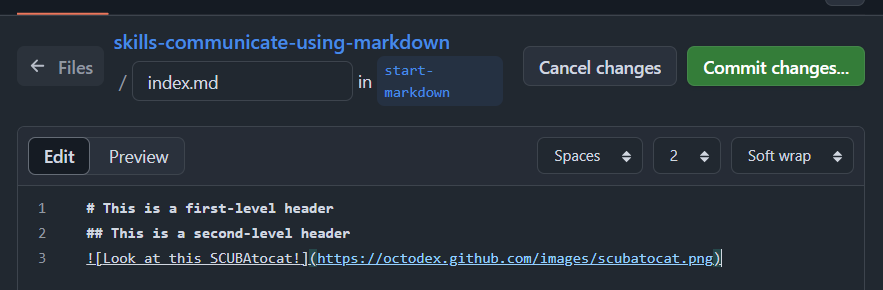
Click the Preview tab to check your Markdown formatting 
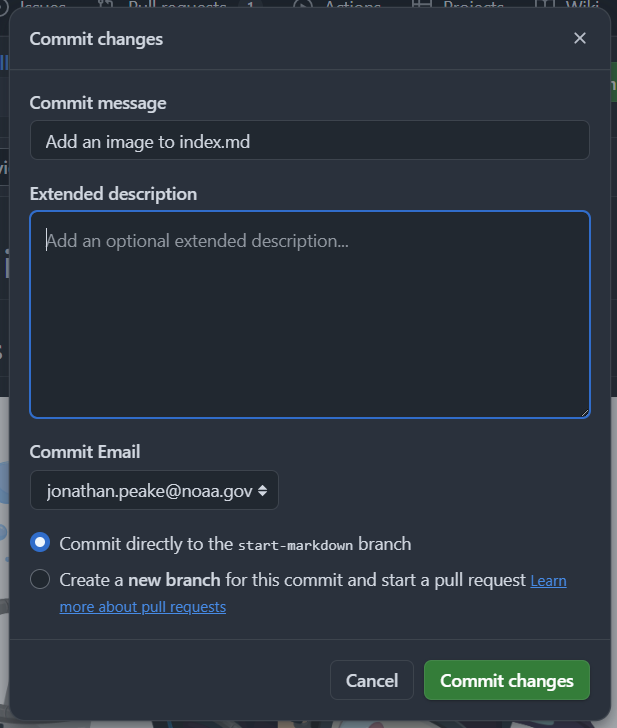
Commit your changes, and wait another 20 seconds for GitHub actions to update to the next step.
Add a code example
Edit the index.md file again.
Add some code in a code block (you can use either example in the instructions)
Preview your code block.

Commit your changes to the file, and wait another 20 seconds before refreshing the instructions page.
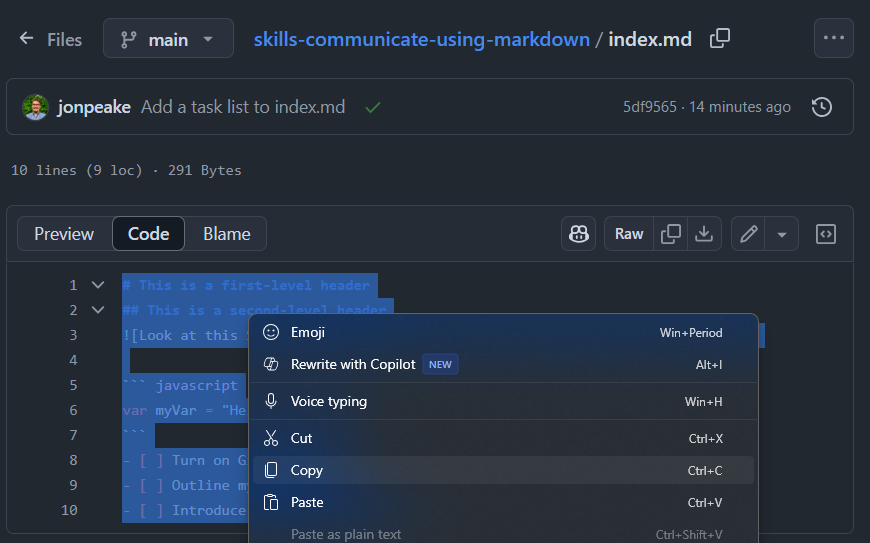
Add a task list
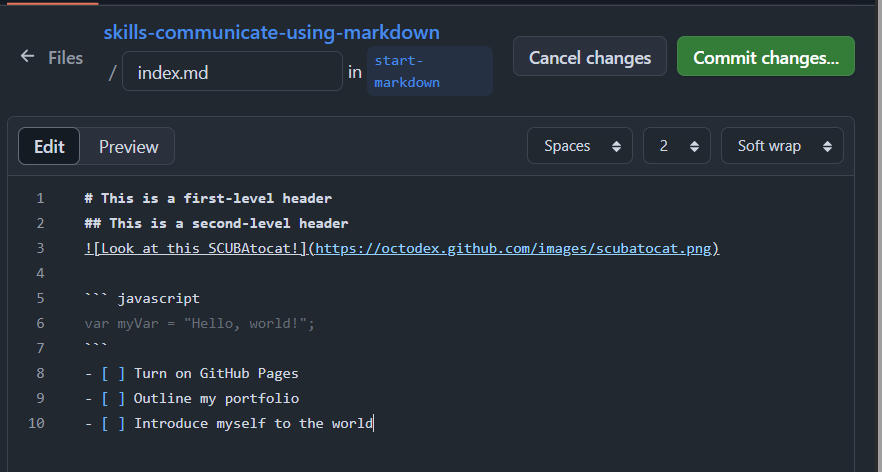
Edit the index.md file again.
Make a markdown task list using the - [] notation
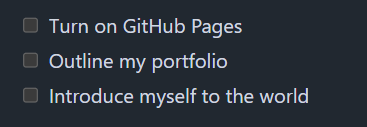
Preview your task list.
Commit your changes to the file, and wait another 20 seconds before refreshing the instructions page.
Merge the pull request
Click the Conversation tab in your pull request
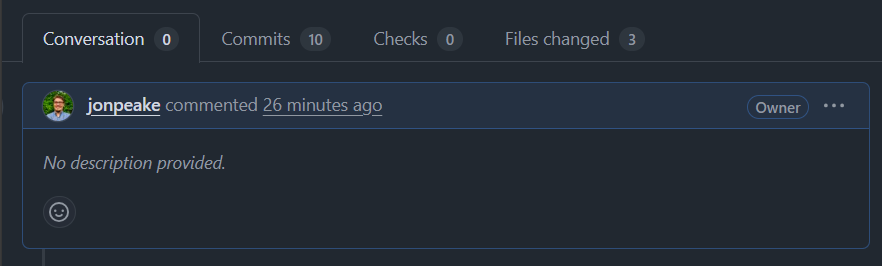
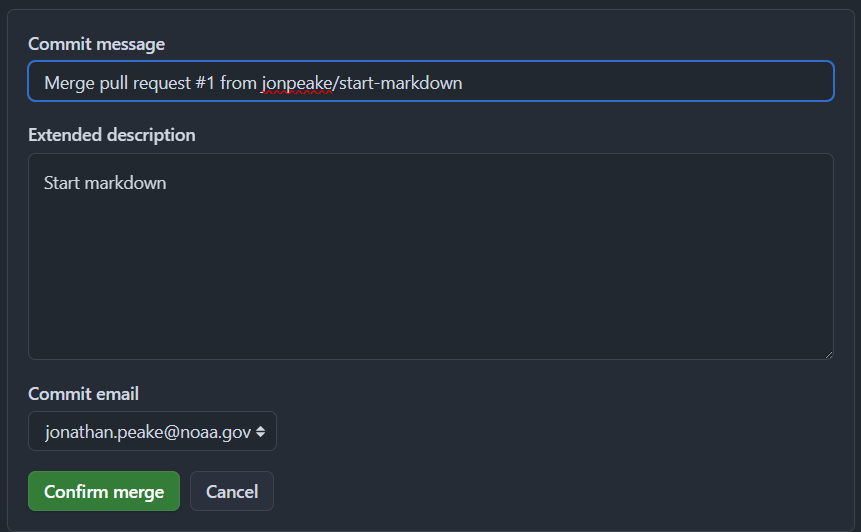
Scroll to the bottom of the page, click “Merge pull request”, and confirm the merge. Wait 20 more seconds, then refresh the instructions page to finish the course. 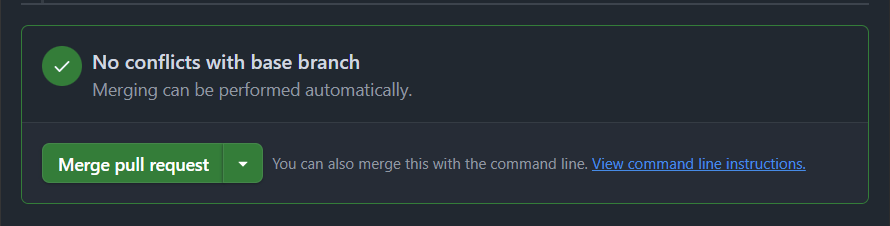
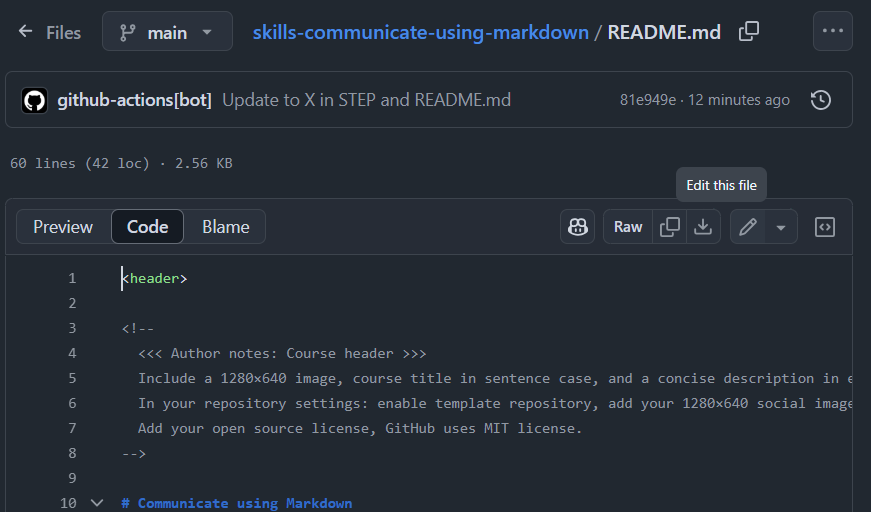
What about README files?
All of the things we did in this tutorial can be done in a README file! To illustrate this, we can copy the contents of your index.md file over to your README.md file in your Skills repository: