Introduction to Markdown and README files
Aims and Objectives
Markdown is a lightweight markup language that you can use to add formatting elements to plain-text text documents. GitHub uses markdown for a variety of applications across repositories and projects, including for README files, issues, discussions, commit messages, and comments. This Introduction to Markdown skills session will use a a mixture of directed, interactive lessons and GitHub Skills to provide NOAA Fisheries staff with a foundation in markdown language formatting and editing.
Prerequisites: What do I need before this workshop to follow along on my own?
This stand-alone skills session is meant for those with a basic understanding of Git and GitHub. Check out our Introduction to Git and GitHub lessons if you are new to Git and GitHub or need a refresher.
What is Markdown?
Using Markdown in GitHub - Tutorial
GitHub Skills are systematically being updated to an issue-based workflow from the legacy README-based workflow. The following tutorial follows the updated issue-based workflow. If you began this exercise before 5-30-2025, your skills repository will look different from the current skills repository template. If this is the case, click here for the legacy README-based tutorial.
GitHub Skills: Communicate using markdown
We’ll be using the Communicate Using Markdown Skills Tutorial to get some practice with markdown in GitHub. Follow along with the tutorial using your own GitHub account.
Step 1: Copy the exercise
Open the GitHub Skills link, and make sure you are logged into GitHub. Use the “Copy Exercise” button to make a new repository on your account:
 When you open up the “Copy Exercise” link, you will be presented with the “Create a new repository” interface. Keep all of the defaults, and click the green “Create repository” button:

These actions use “minutes”, which are limited in a private repository, but unlimited in a public one. We suggest keeping your GitHub Skills tutorial repositories public to avoid any minutes limitations.
GitHub Actions can take a little bit of time to run, so waiting this requisite time is important! Refresh the instructions after 20 seconds to make sure everything updates properly.
Step 2: Start the exercise
After waiting the suggested 20 seconds, refresh the repository, and click the “Go to Exercise” button in the README
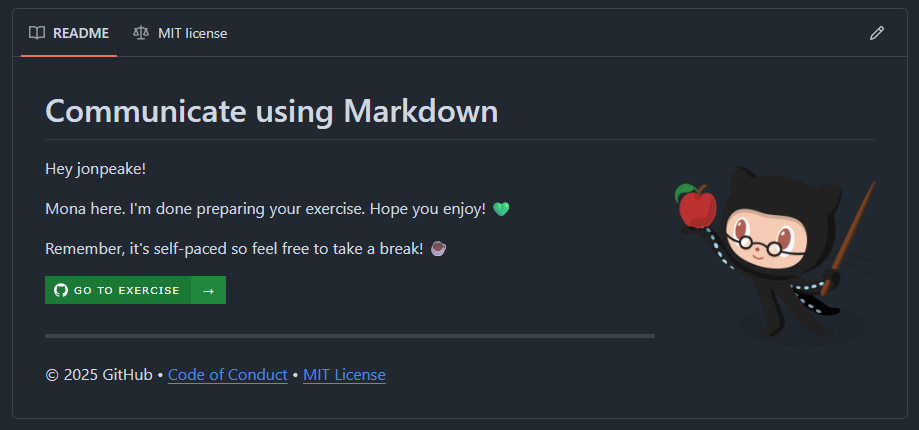
I suggest moving the instructions tab into another window so you can work side-by-side with the instructions to limit switching back and forth between tabs. 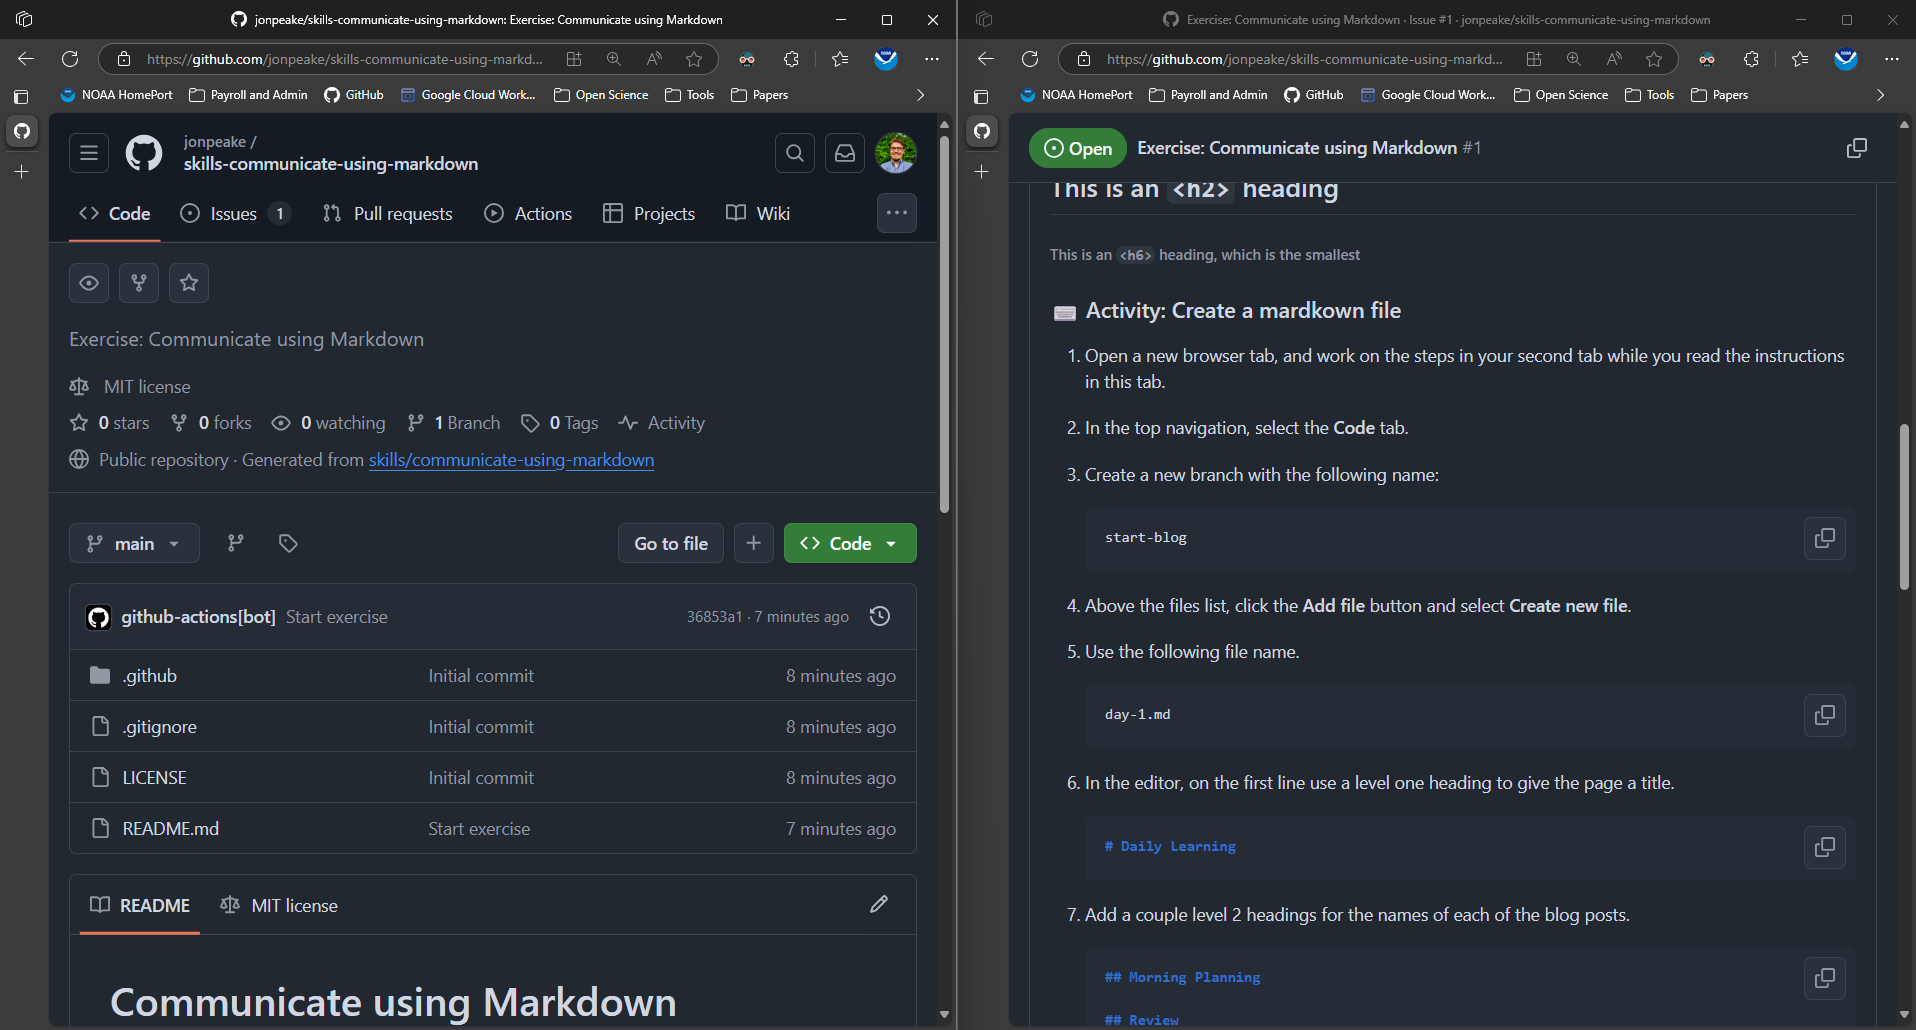
Step 3: Follow the exercise
Create a markdown file in a new branch
In this exercise, we will be using markdown to create an example “blog” page. The content provided in the exercise is just an example; we can give a more personal touch to our own content.
During this tutorial, GitHub Skills will provide code blocks that you can copy directly to your clipboard to paste into the body of your Markdown document. But this defeats the purpose of getting practice with Markdown and building that muscle memory! Go ahead and type in your own content (don’t worry, it doesn’t have to match the example content perfectly)
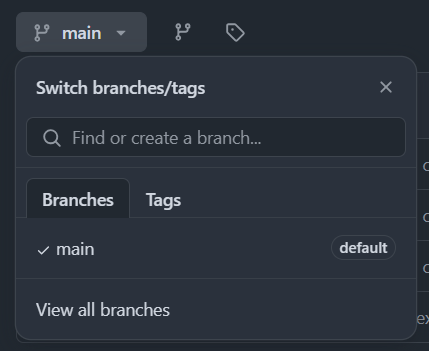
- On the Code tab of your repository, click the dropdown menu where it says “main”
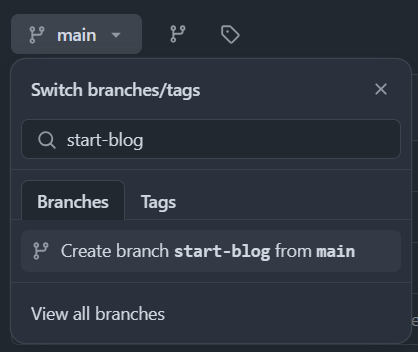
- In the “Find or create a branch” box, type
start-blogand select “Create branchstart-blogfrommain”
- Create a new file by clicking the “Add file” button in your new branch (note this may look like a
+symbol if you’re working in a condensed side-by-side view) and click “Create new file”


- Along the top of the dialogue box, name your file
day-1.md

- In your new file, create a level one heading to give the page a title

- Add a couple level 2 headings for the names of each of the blog posts

- Click the Preview tab in the top left of the dialogue box to view your rendered content

- Click the “Commit changes” button in the top right and commit the changes directly to the start-blog branch

Make a list
- Re-open the
day-1.mdfile and click “Edit this file”

- In the
## Morning Planningsection, add a list of each type: unordered, ordered, and task

GitHub skills only asks for a task list, but we want you to have practice with all list types; adding the other types will not mess up the GitHub Skills workflow, so go ahead and practice adding all three types!
- Preview your content in the preview tab

- Commit your changes directly to the
start-blogbranch

Add a code sample
- After this commit, the
day-1.mdfile should still be open. Click the “Edit this content” button to go back into editing mode

- In the “Review” section, add a code chunk using the three backtick notation (it’s okay to use a different example than the one provided by GitHub Skills)

- Preview your content

- Commit your changes to the
start-blogbranch

Add an image
- Open our
day-1.mdfile in edit mode

- Insert an image below the the “Morning Planning” level 2 heading. To make things a little more interesting, let’s use the Scubatocat image located at https://octodex.github.com/images/scubatocat.png

- Preview your Markdown file

- Go back to the Edit tab and replace the image with an HTML version that changes the size and position

- Preview your updated image, and Commit changes to
start-blog
Add some formatted text (off-script
Before we finish up our tutorial, let’s add some formatted text. The GitHub Skills lesson does not mention anything about this, but it’s an important part of markdown that you should get some practice with!
- Edit your
day-1.mdfile one more time

- Under the Daily Learning heading, add some bolded, italicized, and in-line code text

- Preview your file, then commit your changes

Finish work: Merge your blog post
This step doesn’t have anything to do with markdown, but it’s good practice for working with Pull Requests from a branch!
- Select the “Pull requests” tab in the top navigation bar

- Click the “Compare & pull request” button for
start-blog

- Click the “Create pull request button”

- Merge your pull request and confirm the merge


What about README files?
All of the things we did in this tutorial can be done in a README file! To illustrate this, we can copy the contents of our day-1.md file over to our README.md file in our Skills repository:
- Navigate to the Code tab in the top navigation menu

- Select
day-1.mdand switch to the Code view

- Click the “Copy raw file” button at the top of the dialogue box (looks like two overlapping squares)

- Navigate back to the Code tab, and edit the README file by clicking the “Edit file” button on the README

- Replace the text in the dialogue box with the copied text from the
day-1.mdfile

- Commit your changes

- Navigate back to the Code tab (this should bring you to the home page of our repository, and scroll down to see your markdown-formatted README file!
