Communicating in GitHub with Issues and Discussions
Aims and Objectives
Communication among developers and between developers and end users is a key aspect of GitHub that promotes collaboration and open source development. GitHub provides a number of tools and features to facilitate communication. Two of these features, GitHub Issues and GitHub Discussions, allow collaborators to create, discuss, and track work in a repository. This skills session will use directed, interactive lessons to provide NOAA Fisheries staff with a foundation in using Issues and Discussions to promote open source development in GitHub.
Prerequisites: What do I need before this workshop to follow along on my own?
- This stand-alone skills session is meant for those with a basic understanding of Git and GitHub. Check out our Introduction to Git and GitHub lessons if you are new to Git and GitHub or need a refresher.
- We will also be using a bit of Markdown, so you may want to refresh yourself on Markdown language with our Introduction to Markdown lesson.
GitHub Issues and Discussions for Project Development
Tutorial: Working with issues and discussions
For this tutorial, we’re going to be forking a demo repository (https://github.com/nmfs-opensci/GitHub-Clinic-demos), enabling Issues and Discussion on our repository, and adding an issue and a discussion to the repository. Follow along on your own account.
Step 1: Fork the repository
We have used this demo repository for previous GitHub Clinic demonstrations and tutorials, so you may already have a forked copy of this repository on your account. If you are unsure, you can search for [your-username]/GitHub-Clinic-demos in the GitHub search bar.
- Open the demo repository in GitHub.
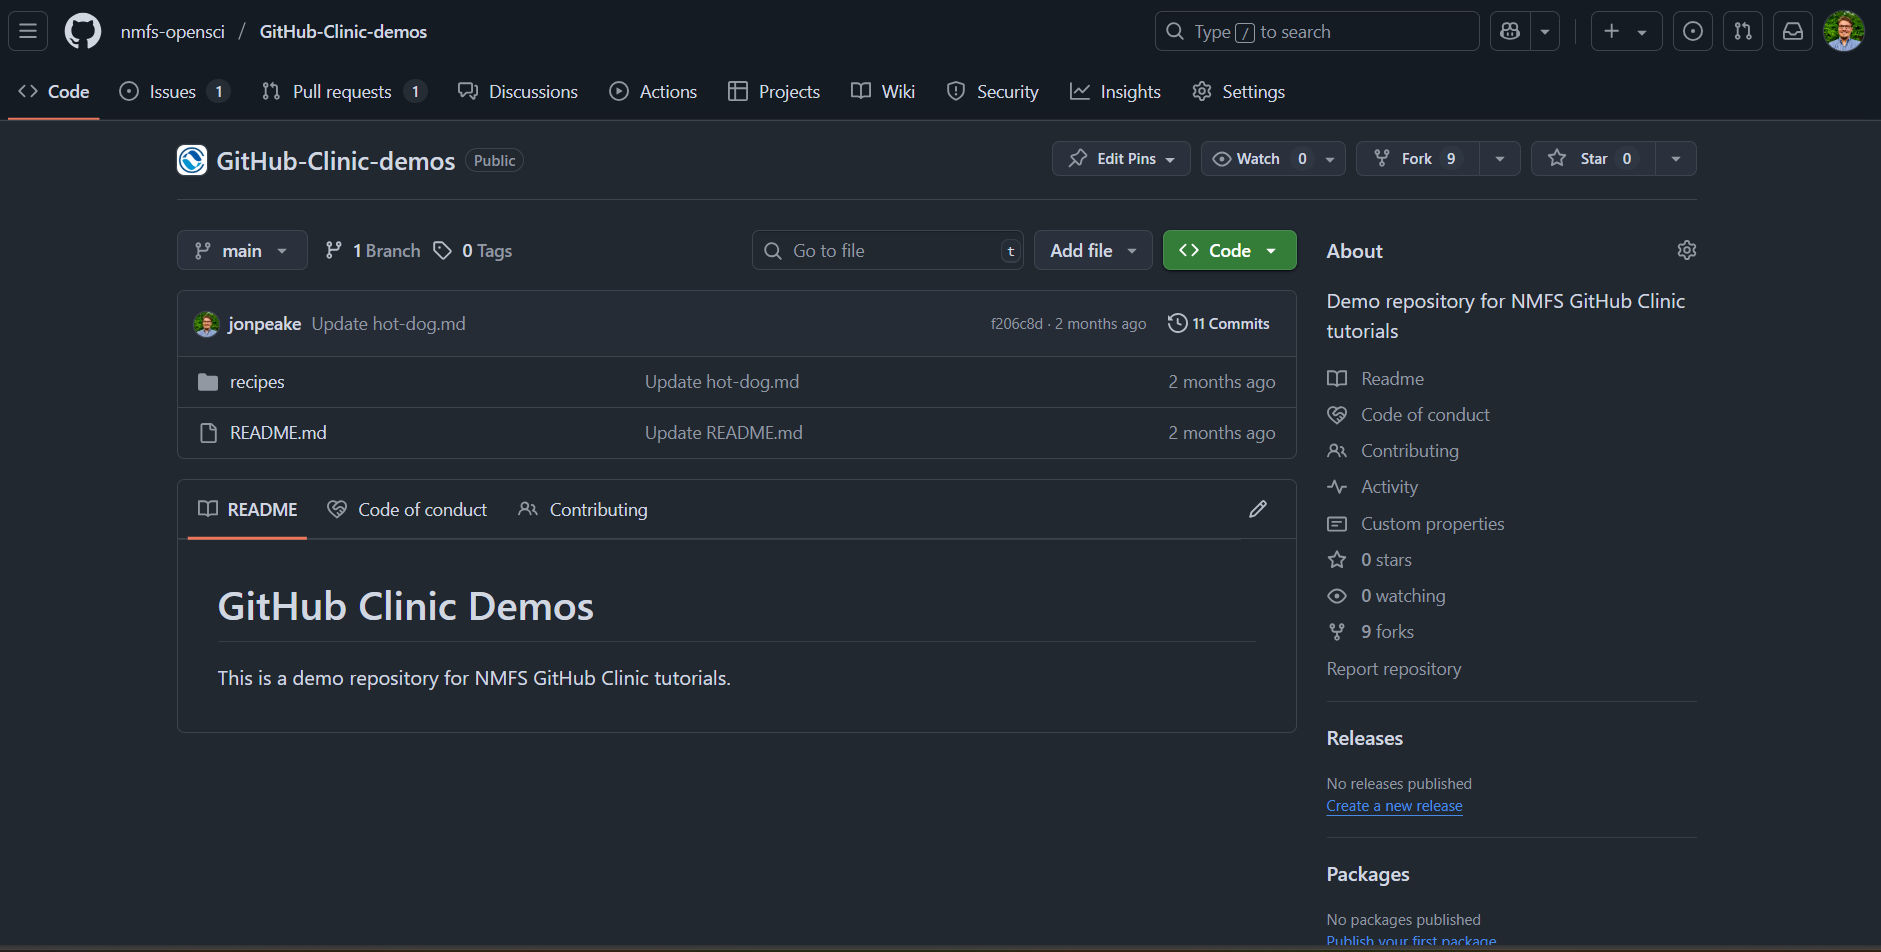
- At the top of the repository, click the Fork button.

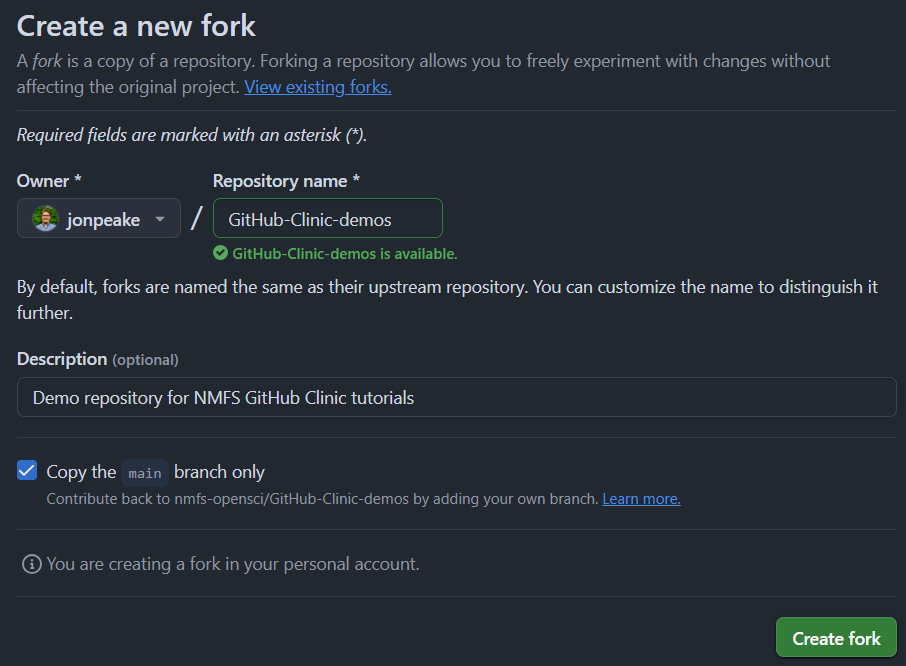
- Keep everything default (your account should be listed under Owner, and the Repository name should be pre-filled for you). Click the green Create Fork button.
Step 2: Enable Issues and Discussions
When you create your new fork, you may notice that the Issues and Discussions tabs that you normally see at the top of the repository are not there. We have to enable these in the repository settings.
- Navigate to the Settings tab in your forked repository.

- On the main settings page, scroll down to the Features section, and select the checkboxes next to Issues and Discussions.
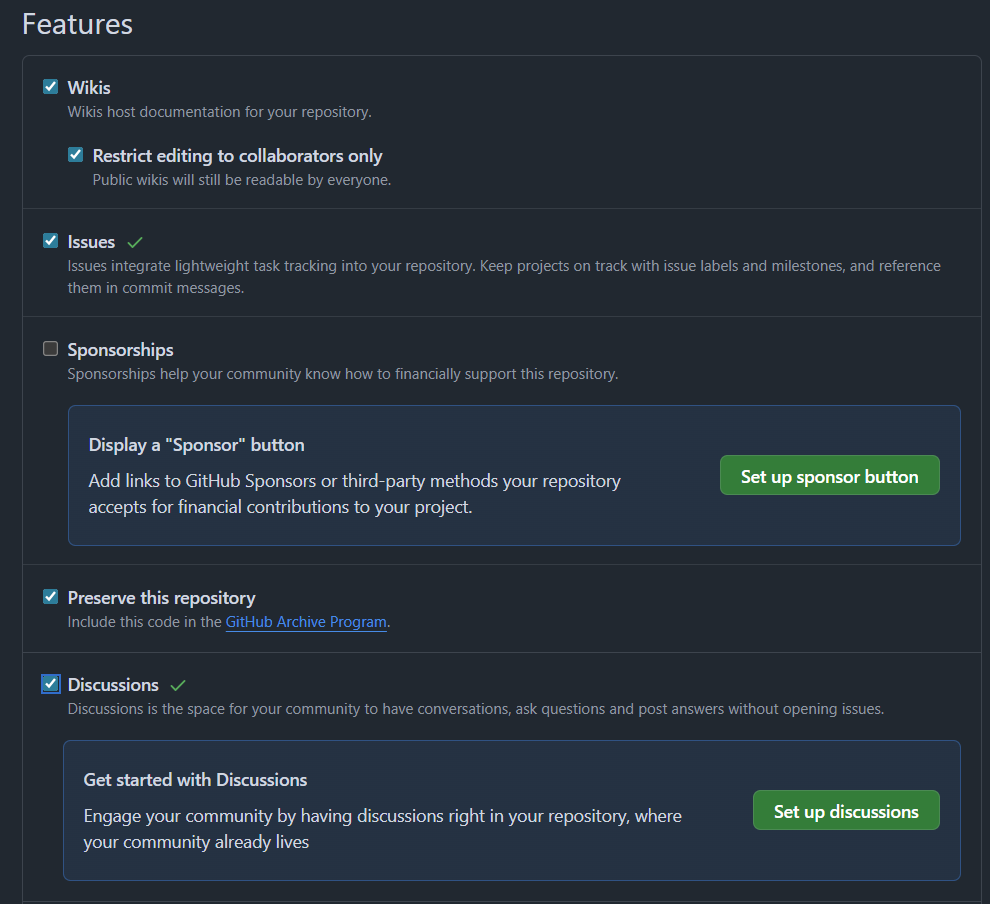
- Note that the top menu bar for your repository now has the Issues and Discussions tabs added.

Step 3: Set up a template issue
- Refresh the settings page, and in the same Features section, click the green Set up templates button under Issues.

- Under the dropdown menu for Add template, select Bug report to add a Bug report template to your available templates.
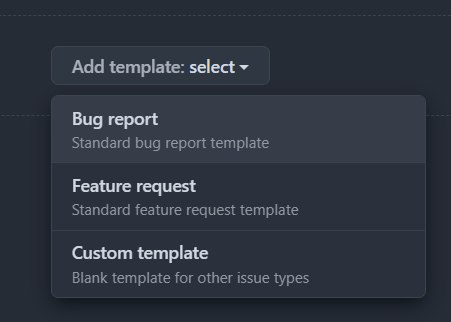
- Click the Preview and edit button to see what your issue template looks like in Markdown
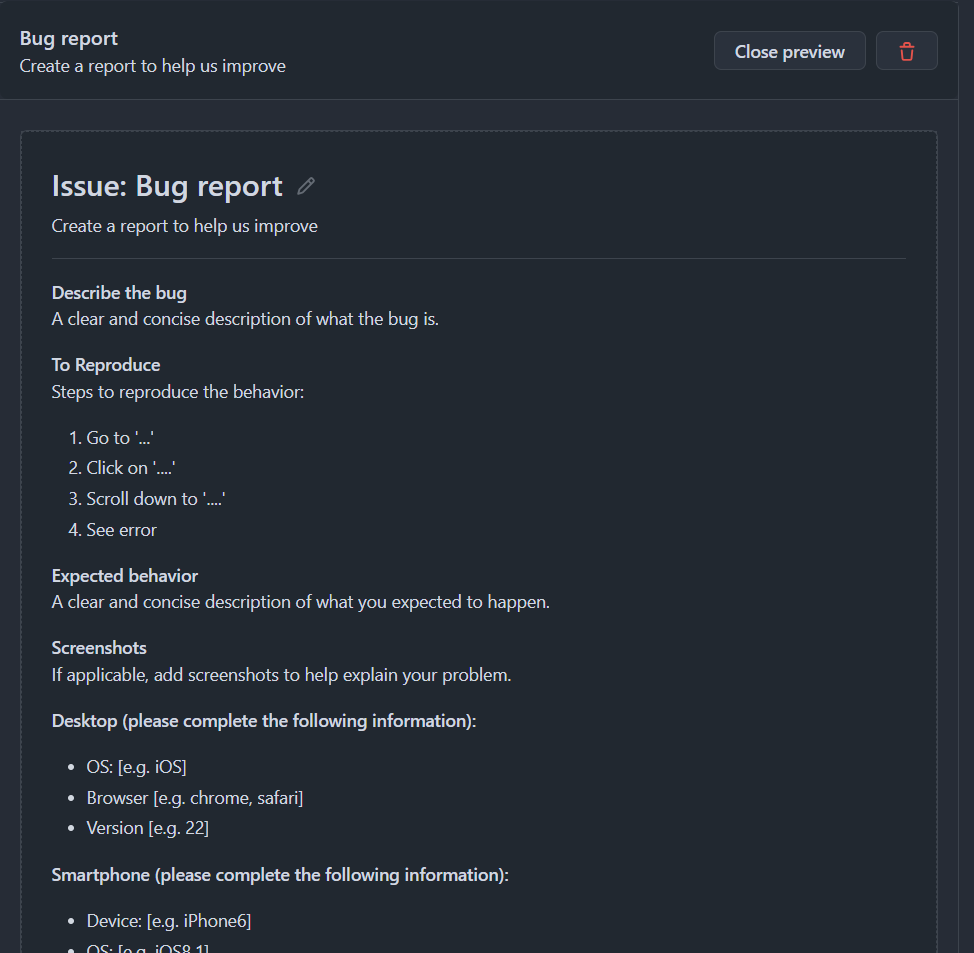
- Let’s go ahead and edit the template to take out the part about smartphone specifications. Click the edit button at the top next to “Issue: Bug report” (it looks like a little pencil).

- In the Template content section, scroll down to the “Smartphone” section, and delete everything from that section.
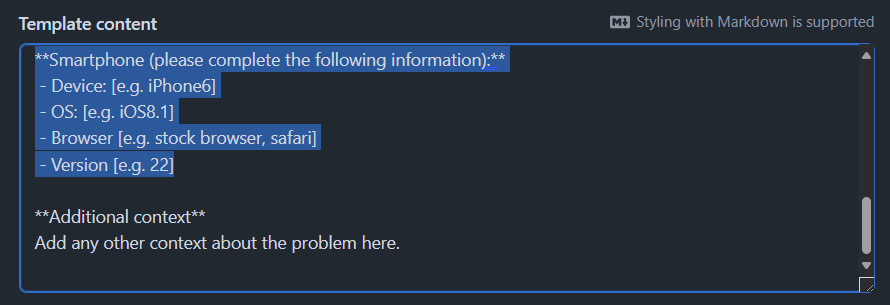
- Click the “x” at the top of the editing pane to save your changes, then click the Close preview button. Click the green Propose changes button to create a commit that will add your new template to your repository.
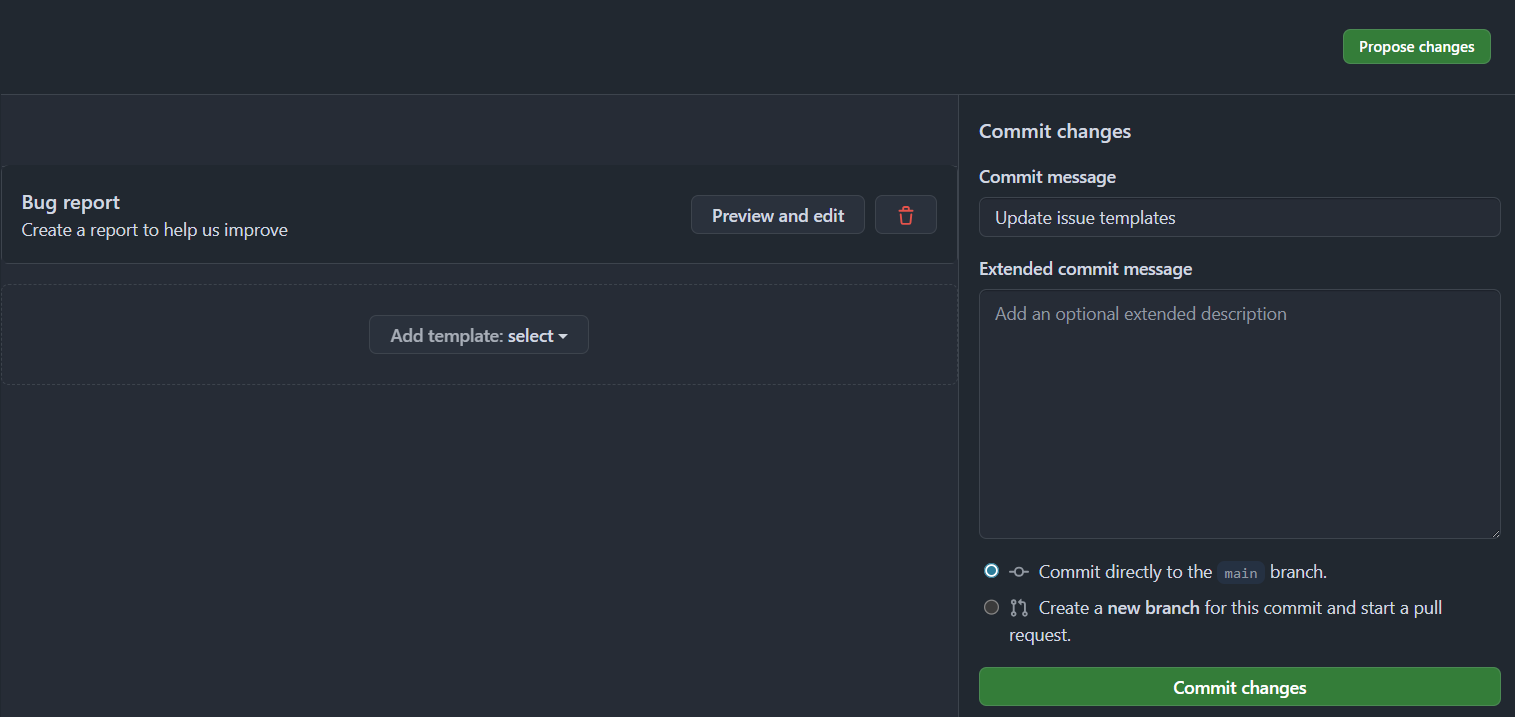
- Note that you now have a new subfolder in your repository under the
.githubfolder calledISSUE_TEMPLATE. If you navigate to that folder in your repository, you can see our newly createdbug_report.mdtemplate. If we ever want to make more edits to our template, we can either use the template editor interface in the Settings menu, or we can directly edit these files in our repository.

Step 4: Create an issue
- Navigate to the Issues tab in your repository, and click the green New issue button.

- Let’s use the new template that we created. Click the Bug report option in the menu.

- Give your issue a title and fill in the template with a fake “bug”. Note that you can directly paste in an image from your clipboard (GitHub converts it to a permalink when you paste it into Markdown). Click the green Create button to submit your issue.
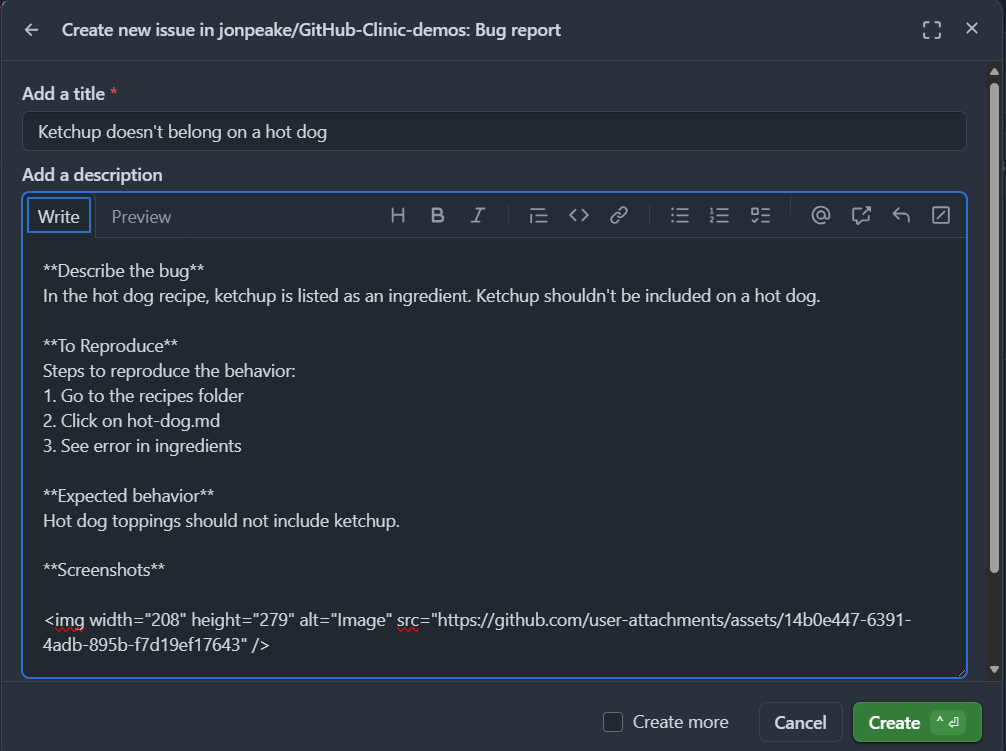
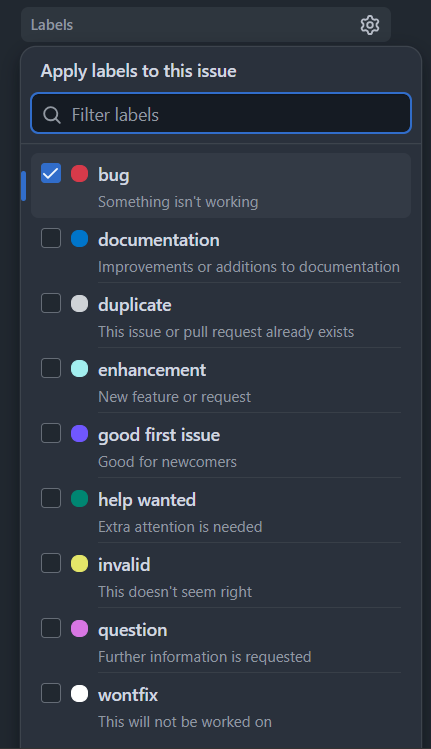
- Let’s add a label to our Issue to show that it’s a bug report. On the left-hand side of the issue, click the “Labels” section and select “bug”.
Step 5: Start a discussion
Our bug report has spawned some discussion among the developers! Let’s document this discussion in our repository.
- Navigate to the Discussions tab in your repository, and click New Discussion.

- Let’s make this a general discussion. Click the green Get started button in the area next to General.

- Add a title and a body to your discussion thread. We can reference the issue that we created earlier using the
#key.
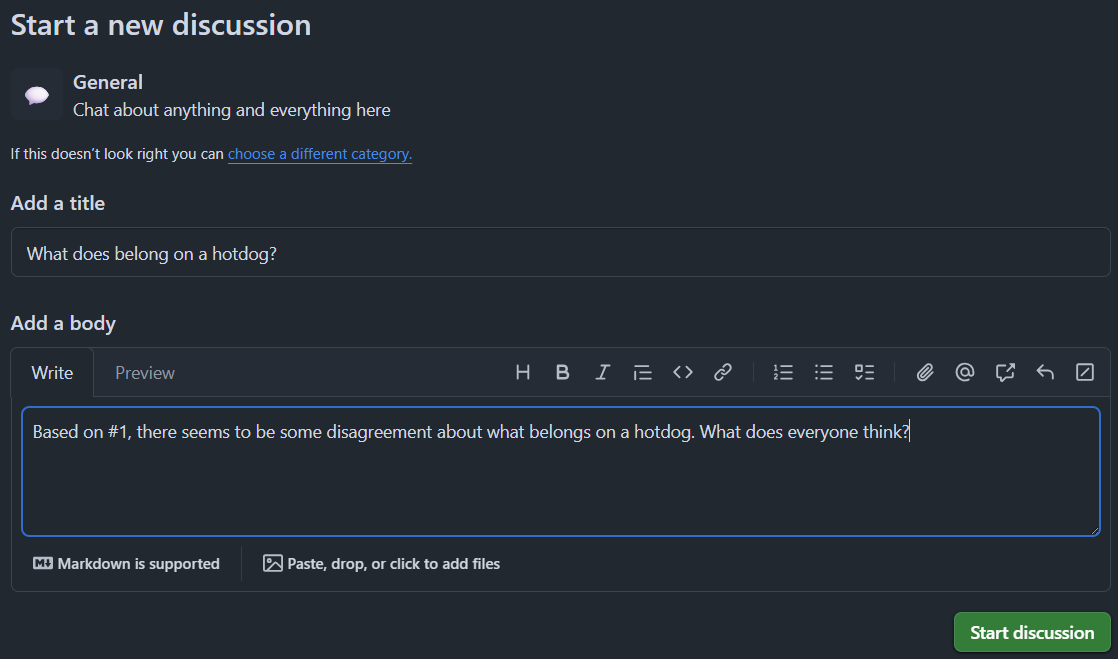
- Click the green Start discussion button to save your discussion thread.
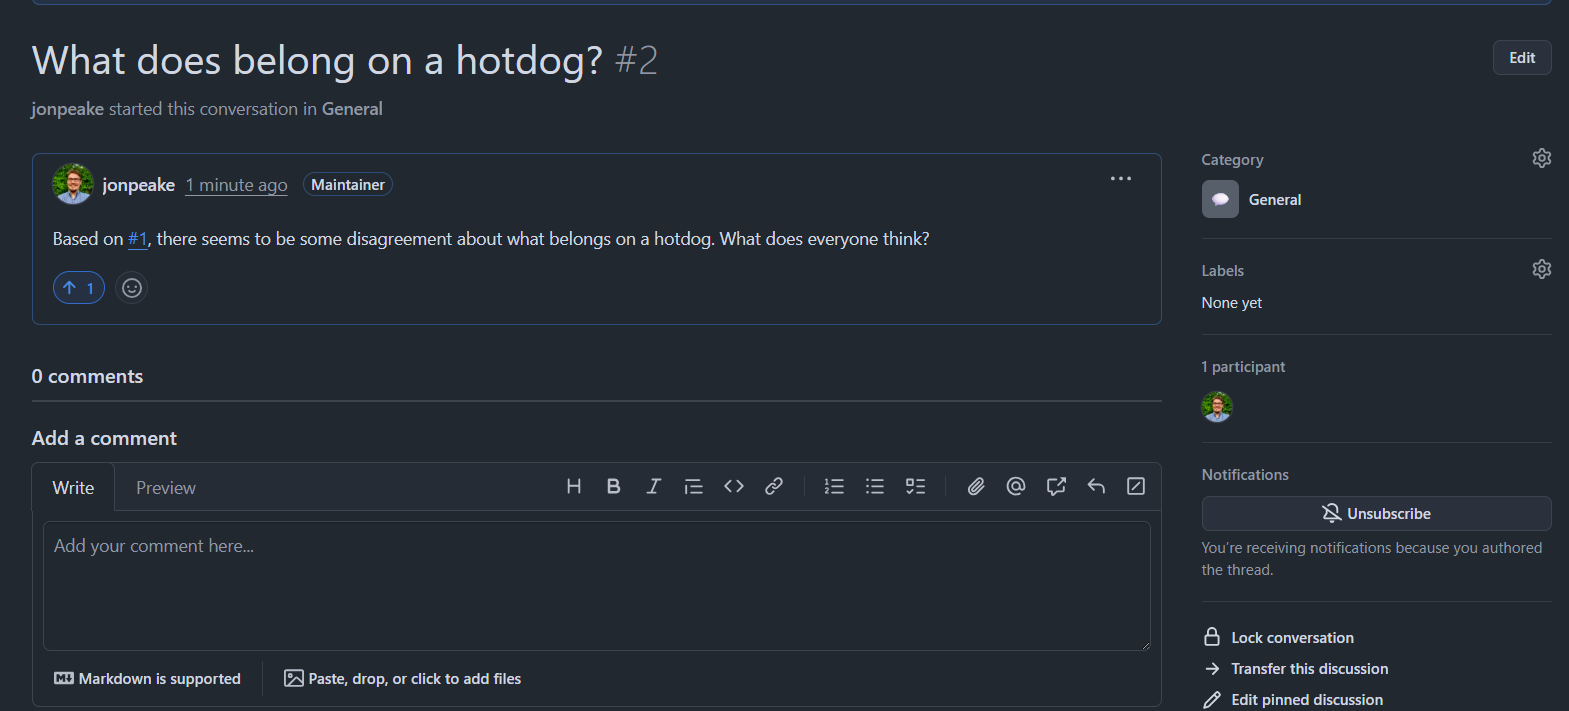
- Congratulations! You have now added both an Issue and a Discussion topic to your repository. Feel free to play around with other Issues templates and Discussion types on your own.

