Merge Conflits in Git and GitHub
Aims and Objectives
Merge conflicts occur when you merge branches that have competing commits. Knowing how to address merge conflicts, and how to avoid them in the first place, is a key aspect to developing your workflows in Git and GitHub. This skills session will use directed, interactive lessons to provide NOAA Fisheries staff with an understanding of why merge conflicts happen, strategies to avoid merge conflicts, and how to address them if they do occur.
Prerequisites: What do I need before this workshop to follow along on my own?
- This stand-alone skills session is meant for those with a basic understanding of Git and GitHub. Check out our Introduction to Git and GitHub lessons if you are new to Git and GitHub or need a refresher.
- Git workflows are based around the concept of branching. If you are not familiar with branches, be sure to take a look at our Branches and Pull Requests lesson.
Addressing Merge Conflicts in Git and GitHub
Tutorial: Resolve merge conflicts with GitHub Skills
GitHub Skills: Resolve merge conflicts
We’ll be using the Resolve merge conflicts GitHub Skills tutorial to practice creating a resolving a merge conflict. Follow along with the tutorial using your own GitHub account.
Step 1: Start the course
Open the GitHub Skills link, and make sure you are logged into GitHub. Use the “Start course” button to make a new repository on your account:
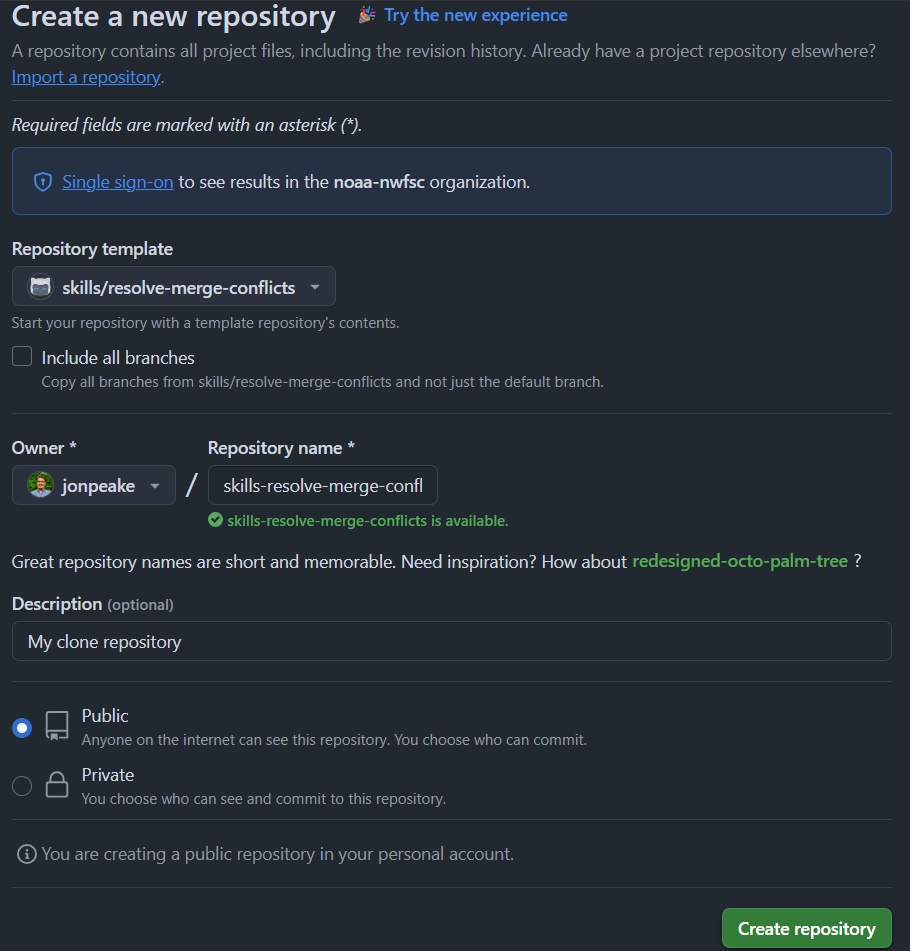
When you open up the “Start course” link, you will be presented with the “Create a new repository” interface. Keep all of the defaults, and click the green “Create repository button:
These actions use “minutes”, which are limited in a private repository, but unlimited in a public one. We suggest keeping your GitHub Skills tutorial repositories public to avoid any minutes limitations.
GitHub Actions can take a little bit of time to run, so waiting this requisite time is important! Refresh the instructions after 20 seconds to make sure everything updates properly.
Step 2: Start the exercise
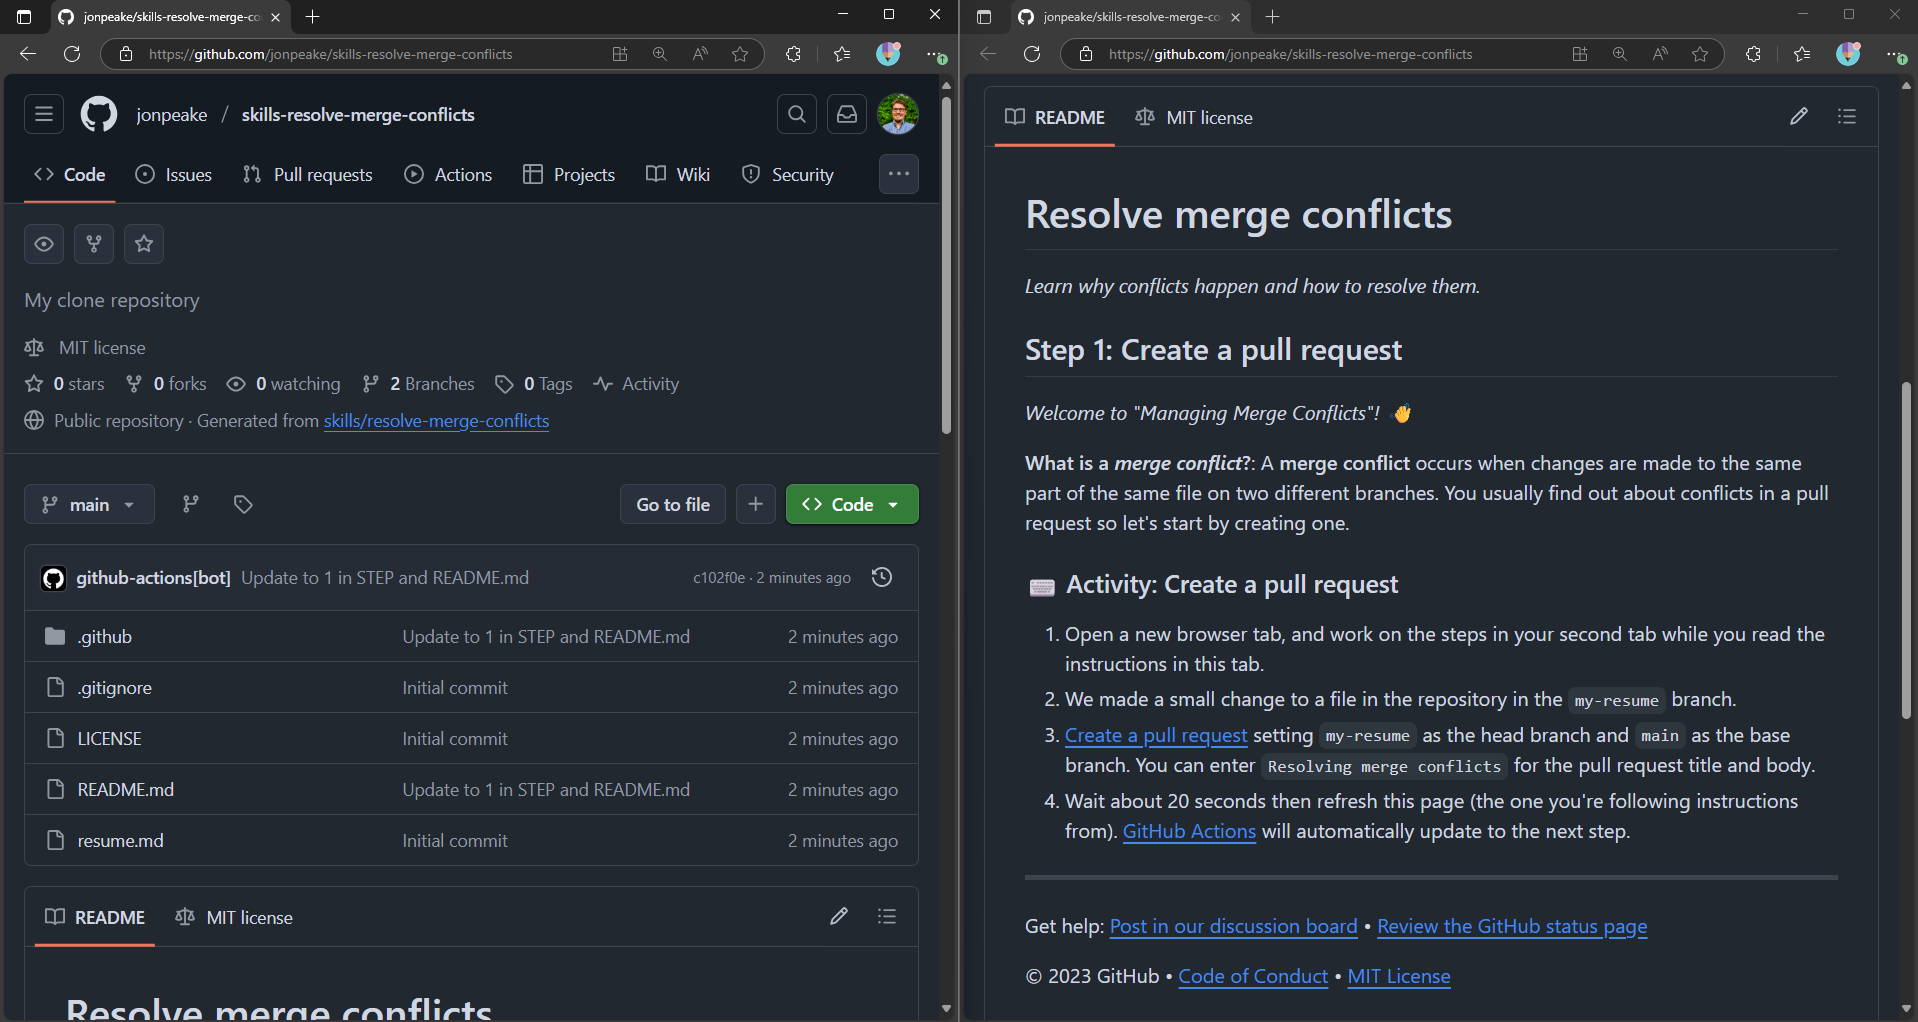
After waiting the suggested 20 seconds, refresh the repository.
I suggest moving the instructions tab into another window so you can work side-by-side with the instructions to limit switching back and forth between tabs.
Step 3: Follow the exercise
In this exercise, we will be demonstrating how to resolve a merge conflict. GitHub Actions has introduced a change to a file on a branch that conflicts with another branch. We’ll go through the process of merging that change in, creating the merge conflict, and fixing it.
Create a pull request
Since merge conflicts occur when merging from a pull request, we’ll start by creating a new pull request.
- On the Pull requests tab of the repository, open a new pull request by clicking the green New button. Keep
mainas the base branch, and set the compare branch tomy-resume. Click the green Create pull request button.
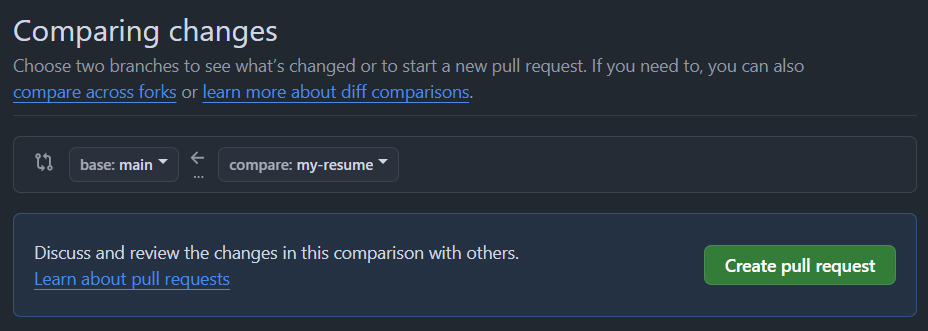
- Enter “Resolving merge conflicts” as the title of the pull request, and click Create pull request.
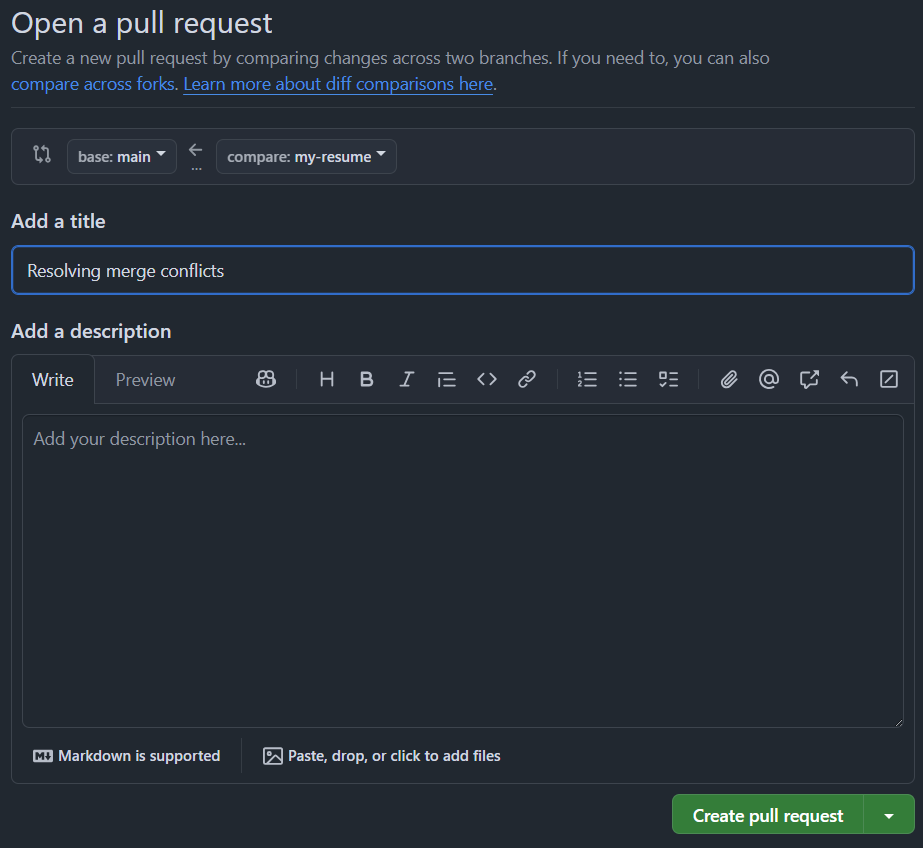
- Wait 20 seconds and refresh the instructions README page.
Resolve a merge conflict
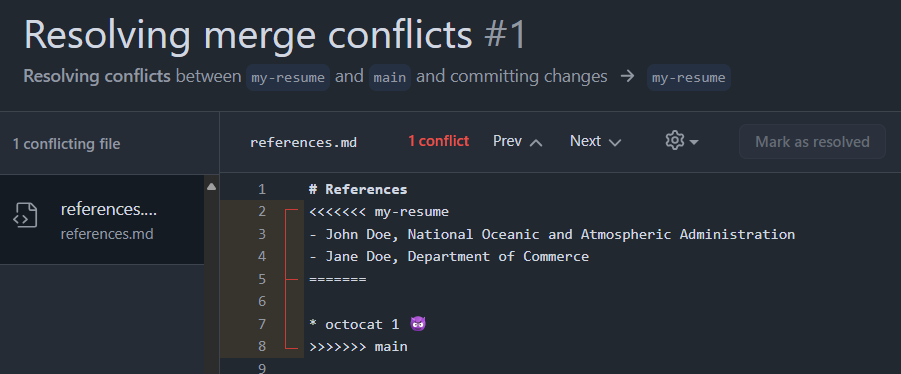
The pull request we created has a conflict. Click the Resolve conflicts button in your pull request.

Look for the line that starts with
<<<<<<< my-resumeand ends with>>>>>>> main(it should be lines 5-9). These are your merge conflict indicators.
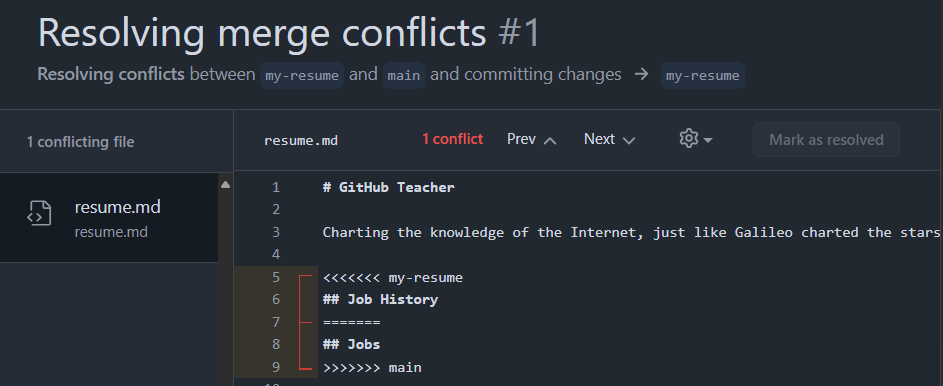
Now we have to choose what to keep and what to get rid of. For this exercise, we’ll keep the changes made on the
my-resumebranch and remove the changes made on themainbranch. Do this by deleting all content below the=======and above>>>>>>> main(this should just be one line).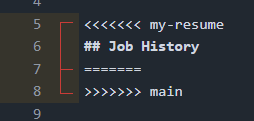
Delete the merge conflict indicators on lines 5, 7, and 8 to retain only the change that was made on the
my-resumebranch.
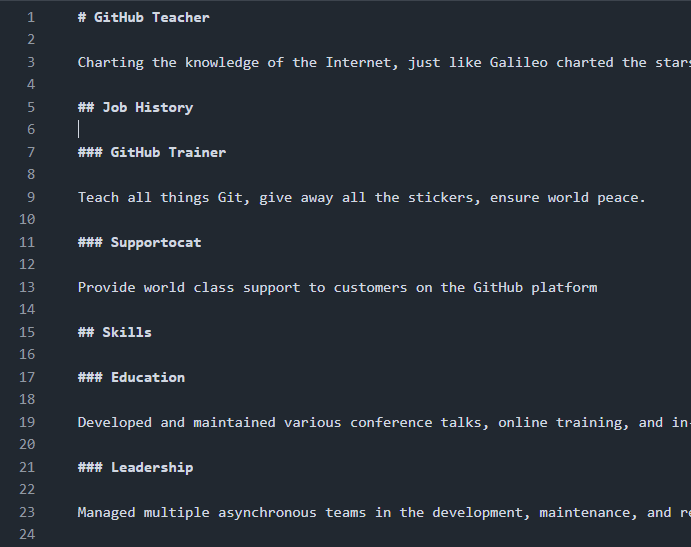
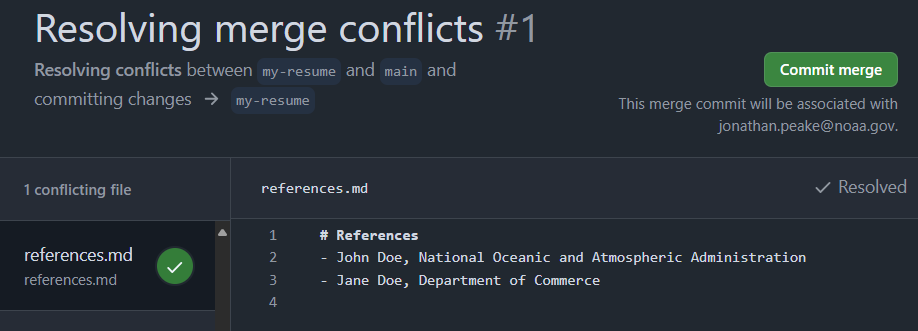
Click the Mark as resolved button in the upper right, and commit the merge.

Wait about 20 seconds and refresh the instructions README page.
Create your own conflict
Now that we know how to resolve a merge conflict, let’s create one of our own to see how they may occur. The GitHub Actions bot added a new file to the main branch. We’ll create the same file in the my-resume branch that has different content.
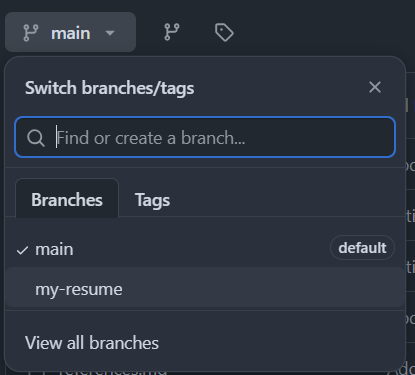
- On the Code tab, click the dropdown where it says
mainand switch to themy-resumebranch.
- Click the Add file dropdown (it might look like a
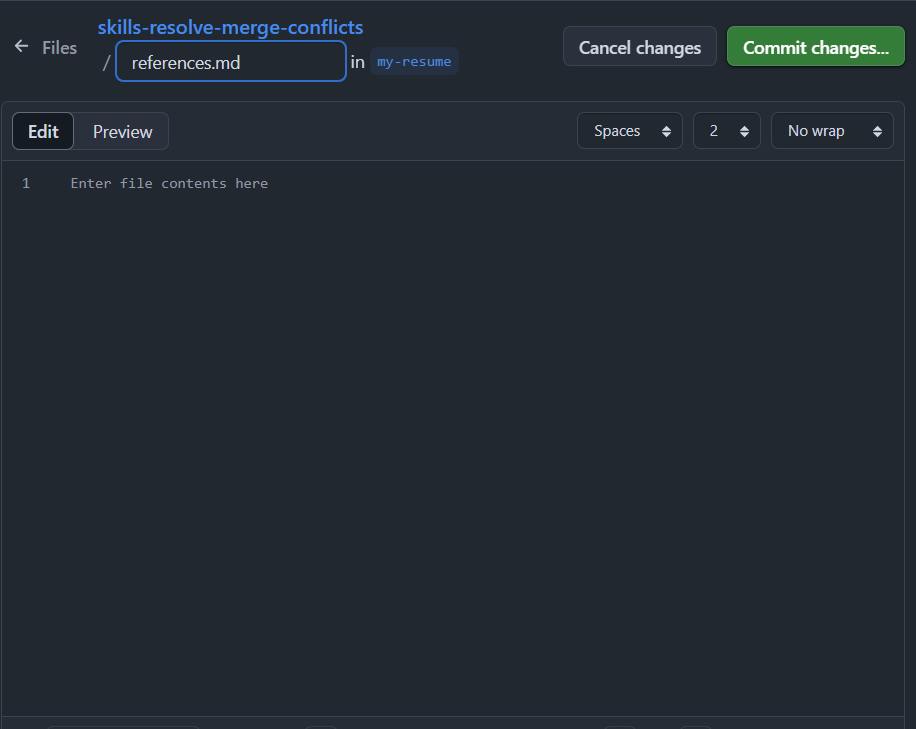
+if you’re in a condensed window) and create a new file. Name itreferences.md.
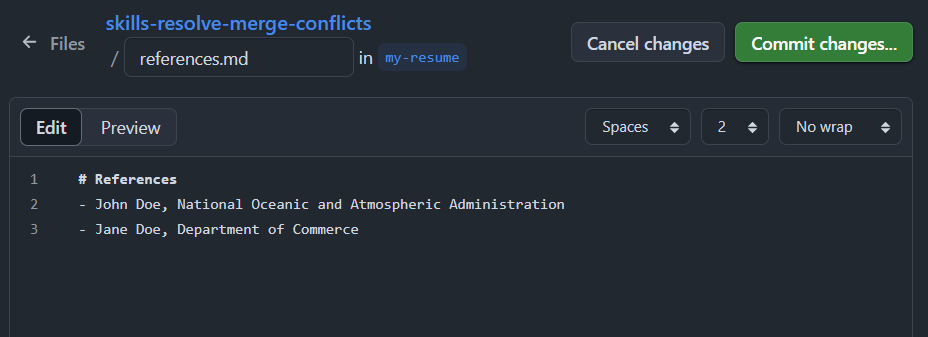
- Add some content to the file. The content doesn’t really matter, as long as it’s different from the copy on
main. Commit your changes directly to themy-resumebranch with an appropriate commit message.
- Wait 20 seconds and refresh the instructions README page.
Merge your pull request
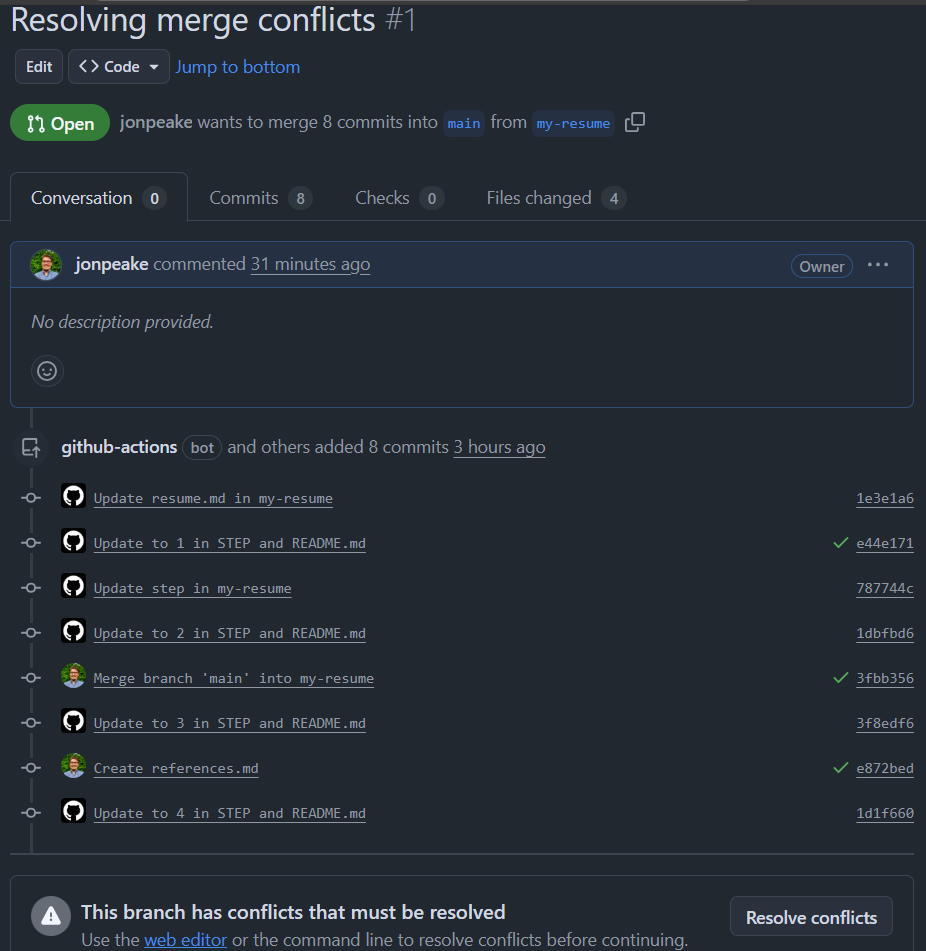
Our commit created a merge conflict in our existing pull request. Let’s deal with that before we finalize our new merge.
- In the Pull requests tab, open your “Resolving merge conflicts” merge request. Click the Resolve conflicts button at the bottom of the pull request.
- Following the instructions from above, resolve the merge conflict.
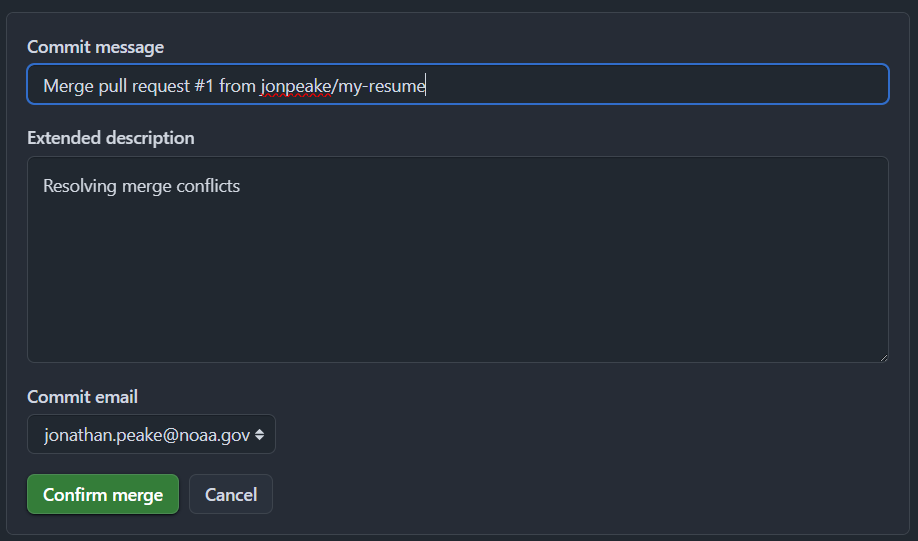
- Mark the conflict as resolved, and commit your merge.
- Merge your pull request, and delete the
my-resumebranch.
- Wait 20 seconds then refresh the instructions README page.
- You’re finished with the tutorial! Feel free to experiment with creating and resolving merge conflicts to get comfortable with the process.

