Intro to JupyterLab
When you start the JupyterHub, you will be in JupyterLab.
Terminal/Shell
Log into the JupyterHub. If you do not see something like this
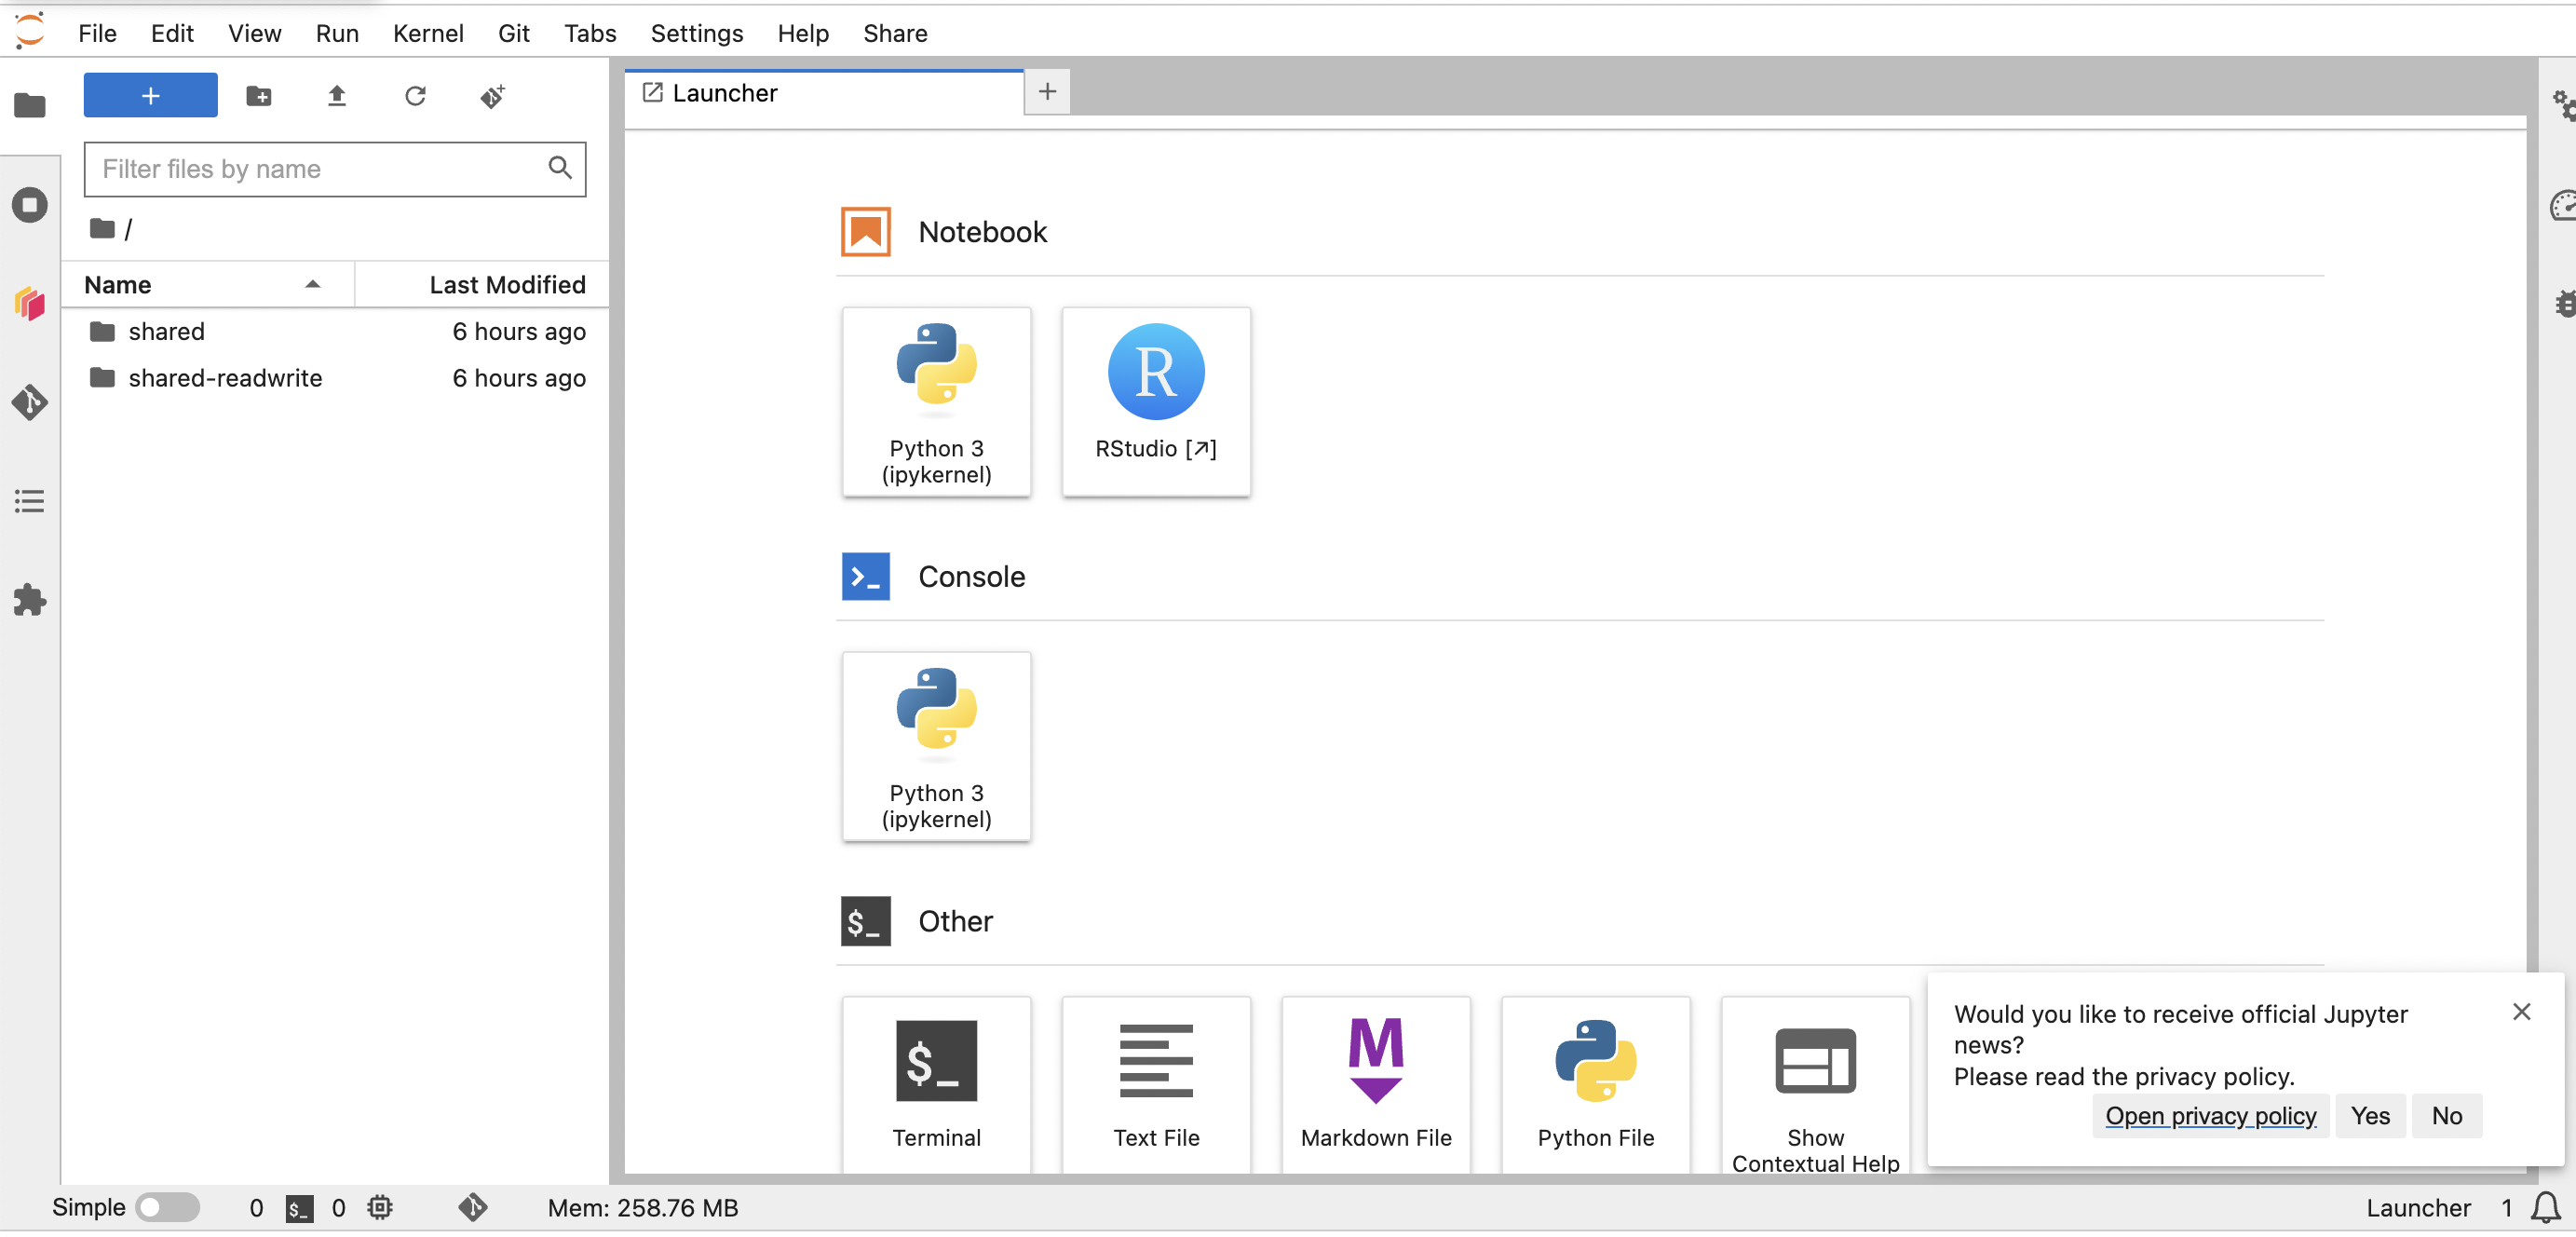
Then go to File > New Launcher
Click on the “Terminal” box to open a new terminal window.
Shell or Terminal Basics
If you have no experience working in a terminal, check out this self-paced lesson on running scripts from the shell: Shell Lesson from Software Carpentry
Basic shell commands:
pwdwhere am Icd nameofdirmove into a directorycd ..move up a directorylslist the files in the current directoryls -alist the files including hidden filesls -llist the files with more infocat filenameprint out the contents of a filerm filenameremove a filerm -r directorynameremove a directoryrm -rf directorynameforce remove a directory; careful no recovery
Close the terminal by clicking on the X in the terminal tab.
File Navigation
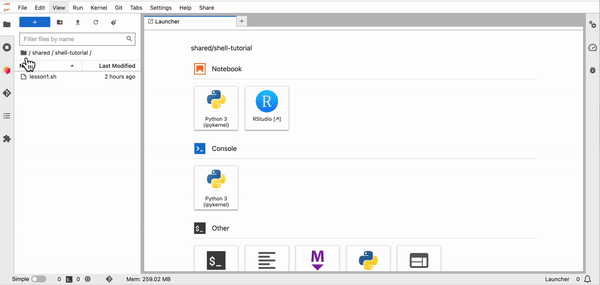
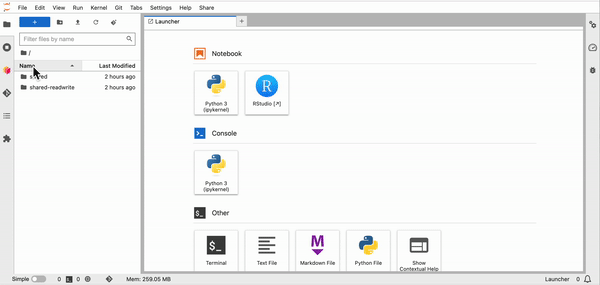
In the far left, you will see a line of icons. The top one is a folder and allows us to move around our file system.
Click on file icon below the blue button with a
+. Now you see files in your home directory.Click on the folder icon that looks like this. Click on the actual folder image.

This shows me doing this
Create a new folder.
- Next to the blue rectange with a +, is a grey folder with a +. Click that to create a new folder, called
lesson-scripts.
- Next to the blue rectange with a +, is a grey folder with a +. Click that to create a new folder, called
Create a new file
- Create with File > New > Text file
- The file will open and you can edit it.
- Save with File > Save Text
Delete a file
- Delete a file by right-clicking on it and clicking “Delete”
Create a new Jupyter notebook
From Launcher, click on the “Python 3” button, this will open a new Jupyter notebook.
Basic Jupyter notebook navigation
A Jupyter notebook is a series of cells than can be code (default), markdown or raw text.
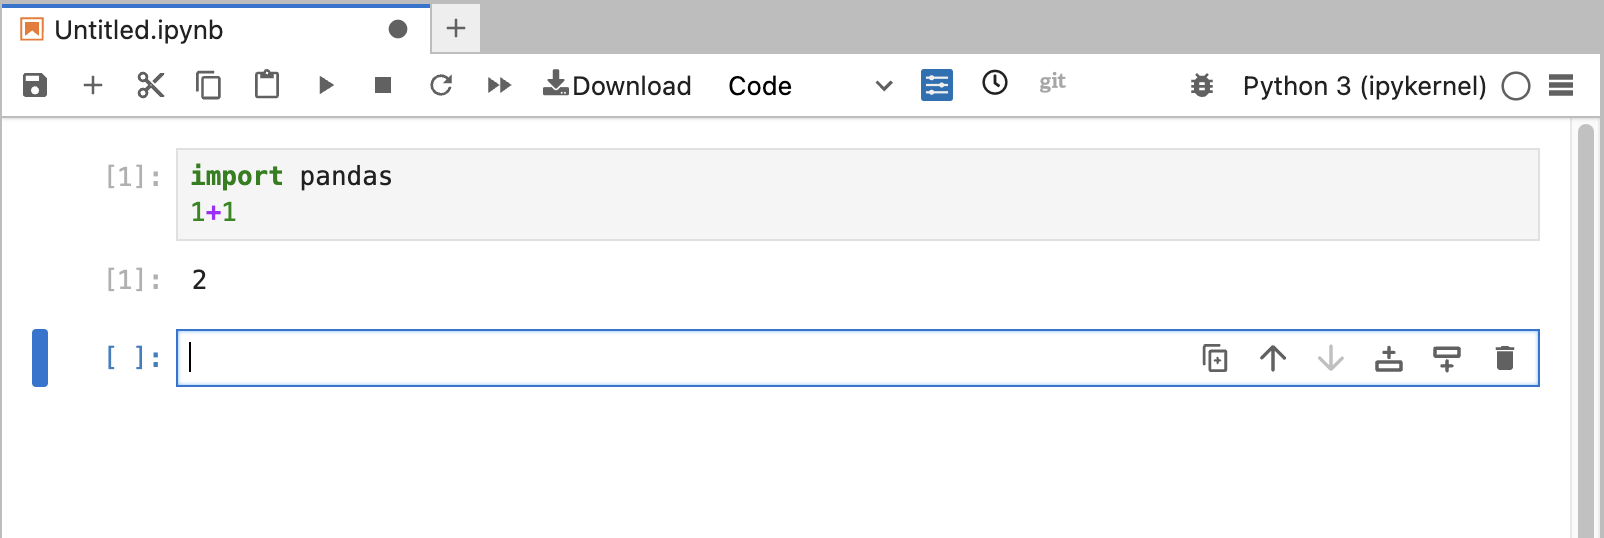
Look at the top cell, this is a code cell which I could see if I click on the cell and look at the top navbar. Next to “Download”, it says “Code”. I can click that dropdown and change the cell type to markdown or raw.
To the left of the “Save” icon in the top navbar is a “+”. This will add a new cell.
Within a cell, you will see some icons on the right. Roll over these icons to see what they do.
Running code in a cell
To run code in a cell, click in the cell and then hit “Shift Return”. You can also click “Run” in the menu or click the little right arrow in the top navbar above the cells.
Creating and rendering markdown
Create an new cell (you can click the “+” in the top navbar) and then change to markdown by clicking the dropdown next to “Download” in the top navbar. Type in some markdown and the run the cell (see above on how to run cells).
Running all cells in a notebook
Use the “Run” menu.
Install packages
Use pip install in a cell. This will not persist between sessions.
Learn more
There are lots of tutorials on JupyterLab out there. Do a search to find content that works for you.