GitHub - Lecture 2
Import a GitHub repository
- In your browser, navigate to https://github.com/nmfs-opensci/Quarto-Website
- Copy the URL
- Click on the “+” in the top right (on GitHub) and select “import repository”
- Follow instructions to import to your GitHub account
- Now you have your OWN copy of
Quarto-Website - Copy the URL for your OWN copy. It will look like this
https://github.com/yourgithubusername/Quarto-WebsiteClone a GitHub repository into RStudio
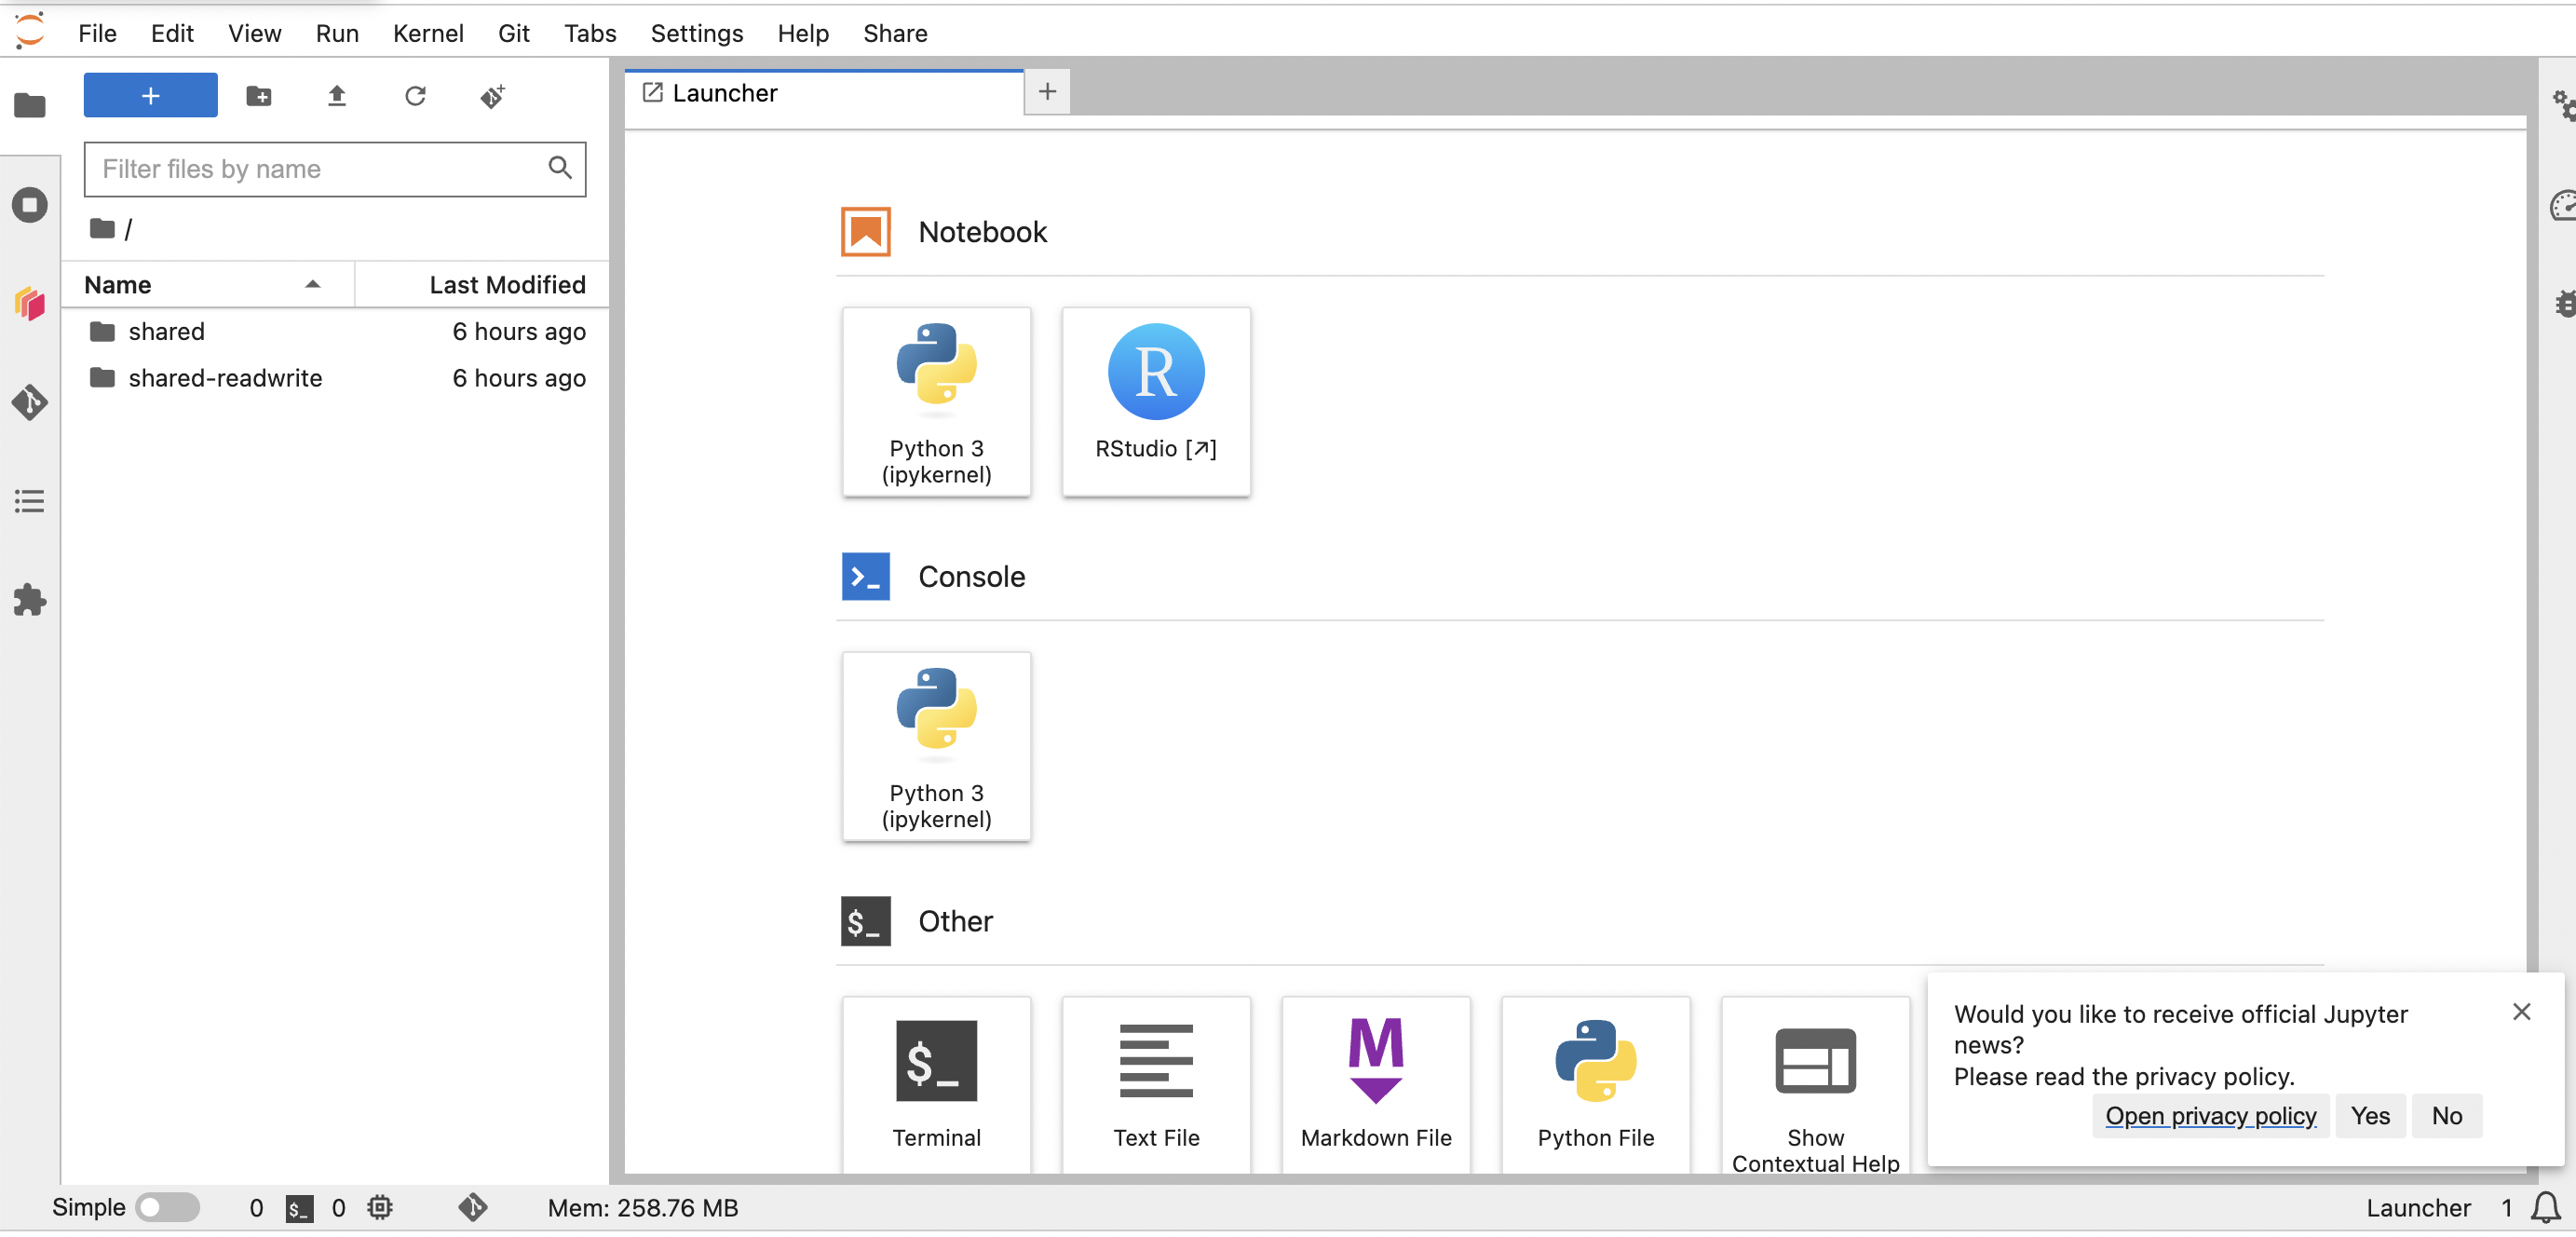
- Login to the JupyterHub. You might have to wait awhile for the page to load.
- Click on the RStudio button when the Launcher appears
- Click on the tab that opens with the R in a circle. You should see this
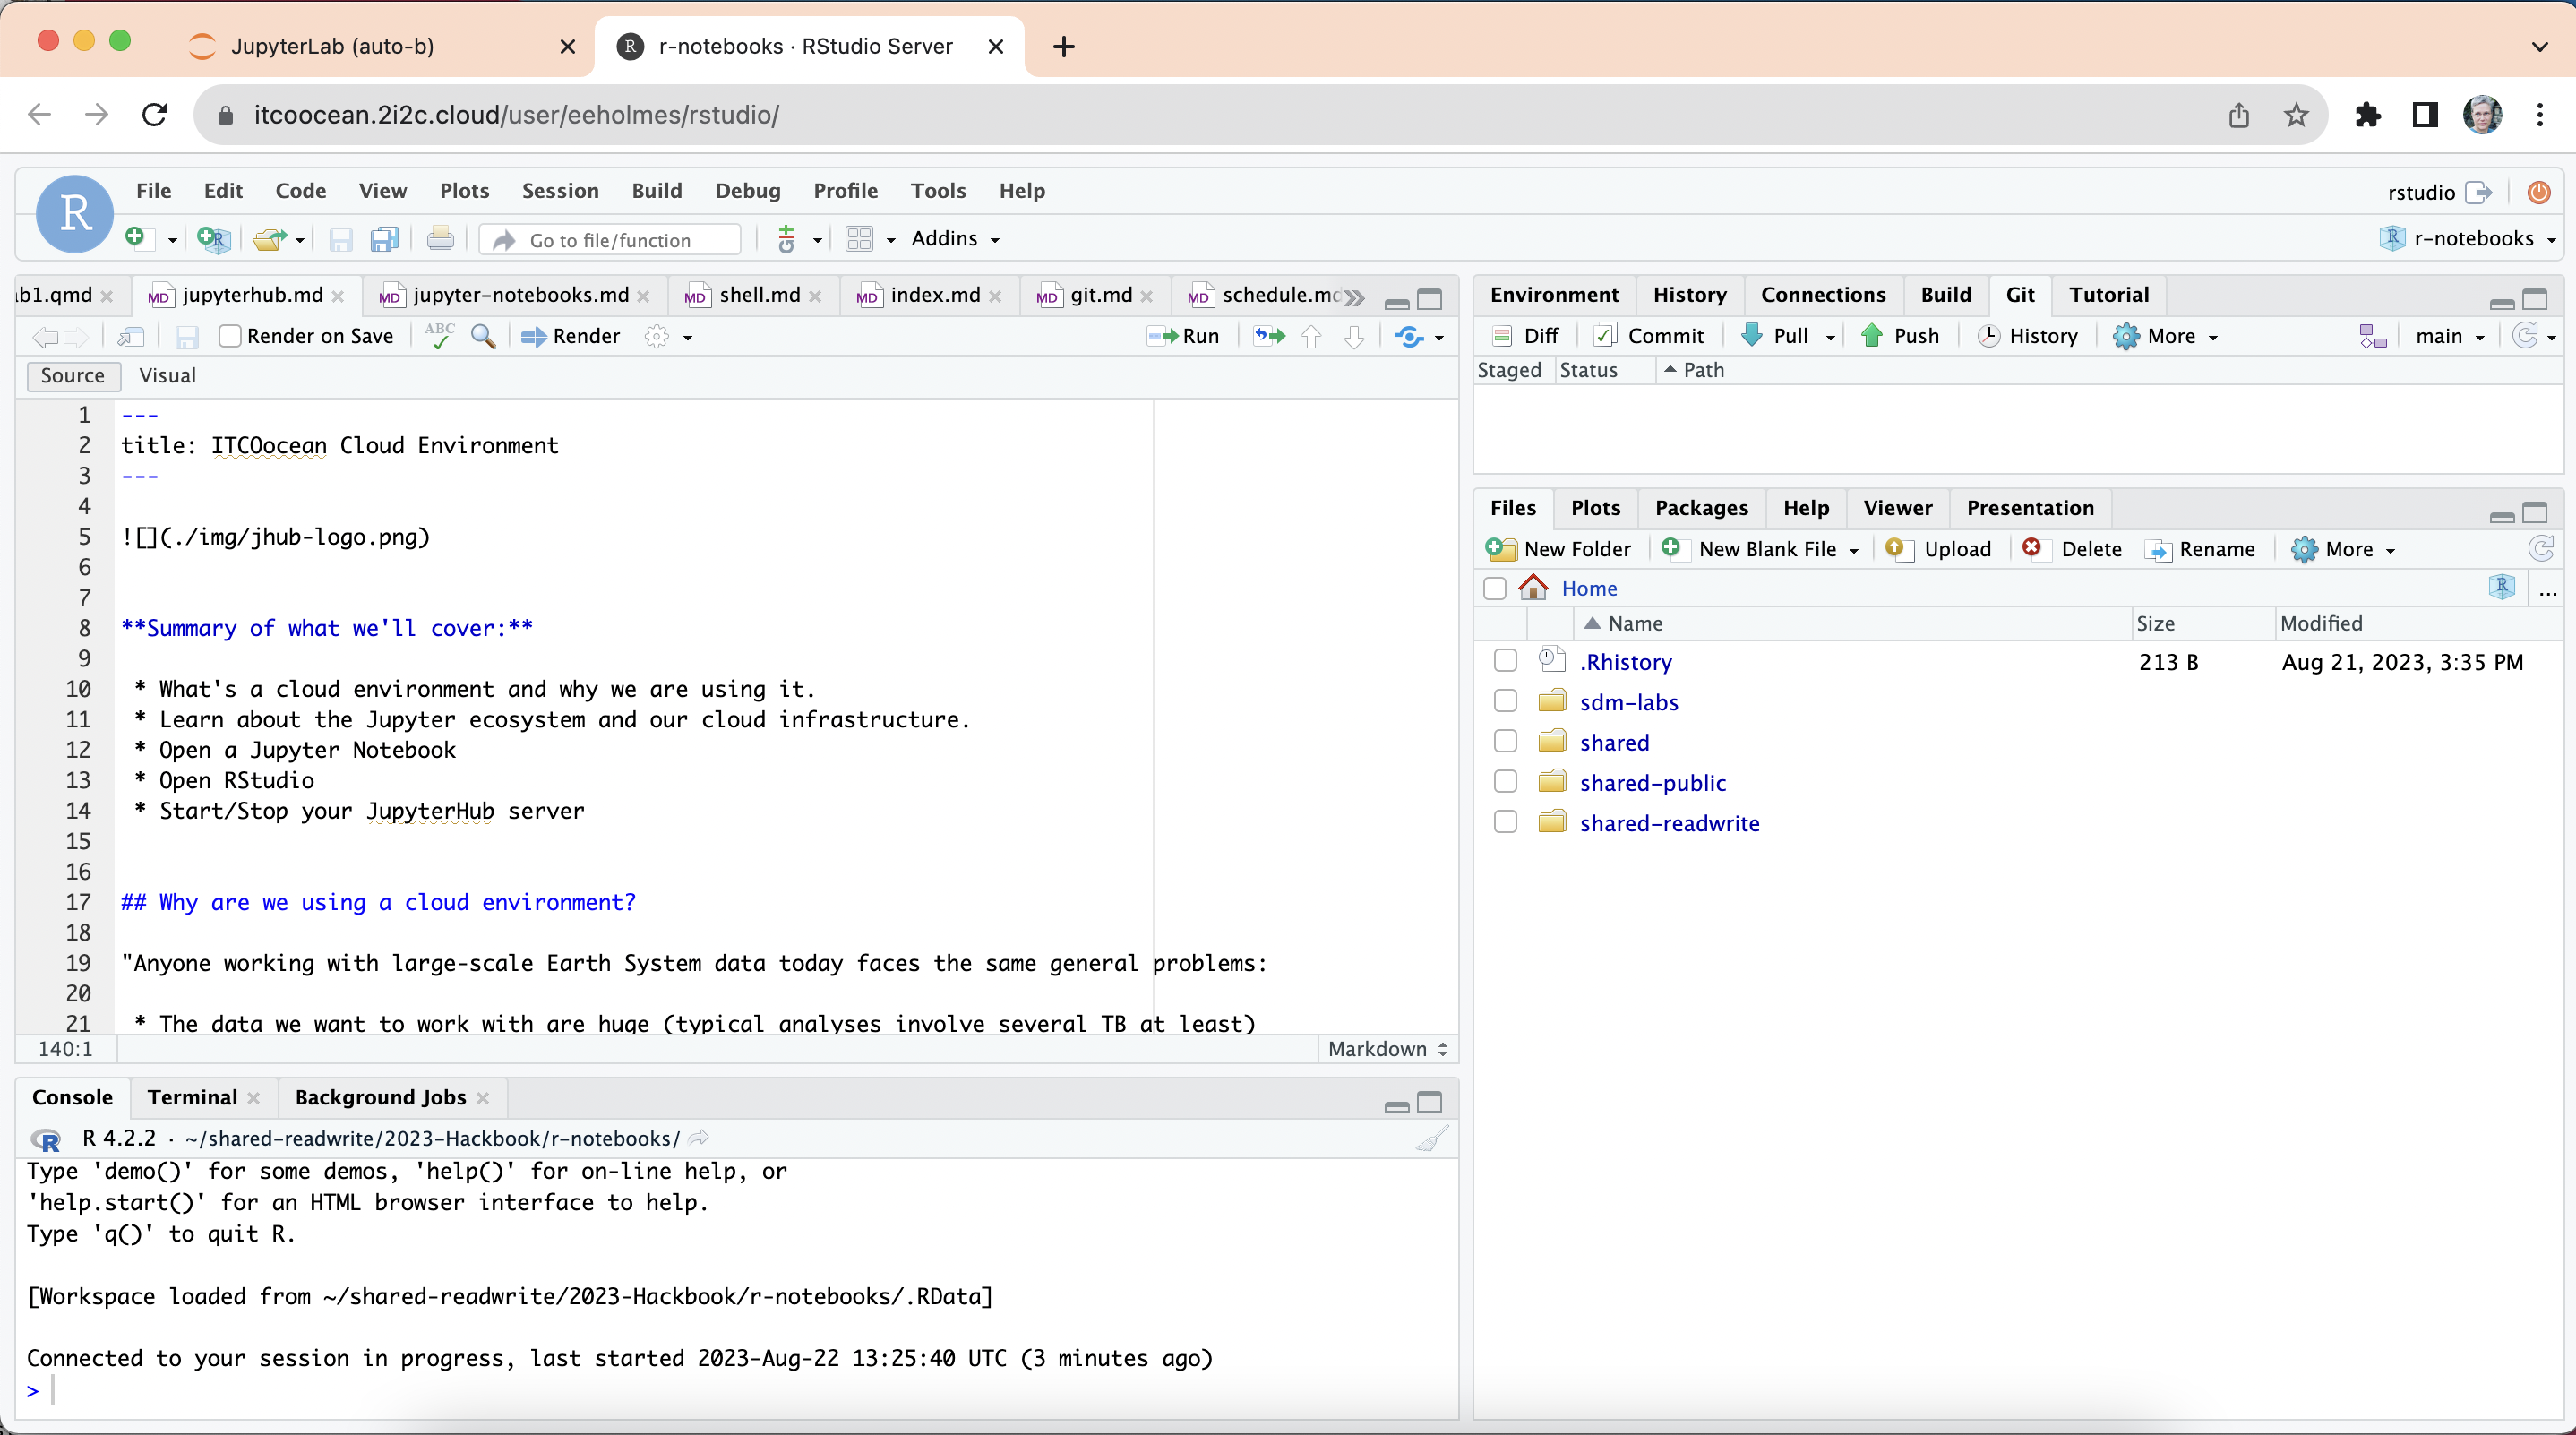
- Click File > New Project > Version Control > Git
- Paste the URL into the box
- Click “Create Project”
- The project is created and the Git tab appears in the upper right panel.
Congratulations! You pulled changes from GitHub into the JupyterHub!
Let’s explore the files
- This happens to be a website. Let’s build it using the Build tab in the upper right panel.
- Click “Render Website”. The website should build and appear.
- If it doesn’t open automatically, go to docs > index.html, right click and open that in a browser.
- Open the
about.qmdfile. Let’s edit that! You can use the “Source” or “Visual” editor. - When you have made some edits, click “Render” to see how it looks.
- You can also click Build > Render Website to re-create the whole website.
Set up authentication
You need to tell GitHub who you are so you can push your local changes up to GitHub. There are a few ways to do this. I am going to show you a way that works on any computer, including a virtual computer like the JupyterHub.
Step 1: Generate a Personal Access Token
We are going to generate a classic token.
- Go to https://github.com/settings/tokens
- Click Generate new token > Generate new token (classic)
- When the pop-up shows up, fill in a description, click the “repo” checkbox, and then scroll to bottom to click “Generate”.
- SAVE the token. You need it for the next step.
Step 2: Tell Git who your are
- Return to RStudio
- Click the terminal tab in the bottom right panel
- Paste these 3 lines of code into the terminal
git config --global user.email "<your email>"
git config --global user.name "<your name>"
git config --global pull.rebase false
git config --global credential.helper store
Step 3: Push changes up to GitHub
- Click the Git tab (upper right panel)
- Click the checkboxes next to what changes you want to push
- Click “Commit”
- Fill out a comment and click “Commit”
- Close the pop-ups
- Click Push
Optional: Make your website live!
For those who get through all the steps and want to play around more.
- Go to your Quarto Website repository on Github
- Go to Settings > Pages (in left navbar)
- You need to select the branch and the folder where the webpage files are. In this case, they are in
docs
- The URL where your website will appear is shown.
Have you noticed that people have personal websites at username.github.io? How did they do that? If you create a repo named username.github.io in GitHub, it will automatically appear with that URL. Look for a repo with that name in someone’s GitHub account if you see that they use that as their personal website.